Aren't novelty cakes the cutest, and these Mini Gift Box Cakes make adorable individual dessert treats. Homemade butter cake covered in rolled fondant, these little desserts are sure to make an impression.
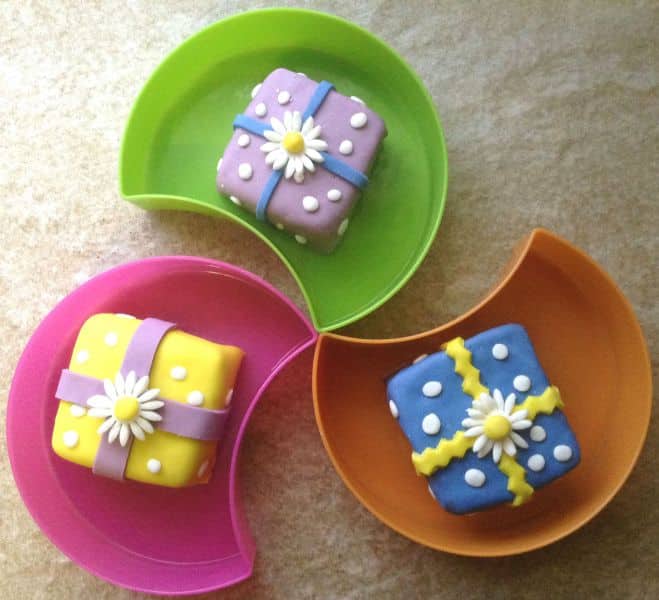
Rolled fondant gives cakes such a beautiful, flawless finish. It creates that stunning perfection on any baked treat. It can be molded and cut like clay and made into any shape you desire, making an impressive creation.
For this recipe, I baked my favorite butter cake because of its firm, dense texture. Densely textured cakes are best when covered with fondant. The firm texture holds well under the weight of heavy fondant or sugar paste.
It is best to place the baked cake it in the fridge for about half an hour before cutting into squares .This helps it firm up further, making it easier to cut.
After baking, allow to cool before then refrigerate before cutting through the cake to divide into 2 equal layers.
Using a square cookie cutter as a guide cut into 12 equal sized squares. I used a 6cm square cookie cutter.
Spread a layer of jam and buttercream on 6 of the cut squares and sandwich with the remaining 6.
Using a palette knife, apply the buttercream on the sandwiched cakes.
Making sure that the corners are neat and smooth all around.
Place in the fridge for about 20 minutes and then add another layer of buttercream making sure that it is smooth and neat. Place in the fridge for 20 minutes again to allow the buttercream to firm up making it easier when you are covering with the fondant
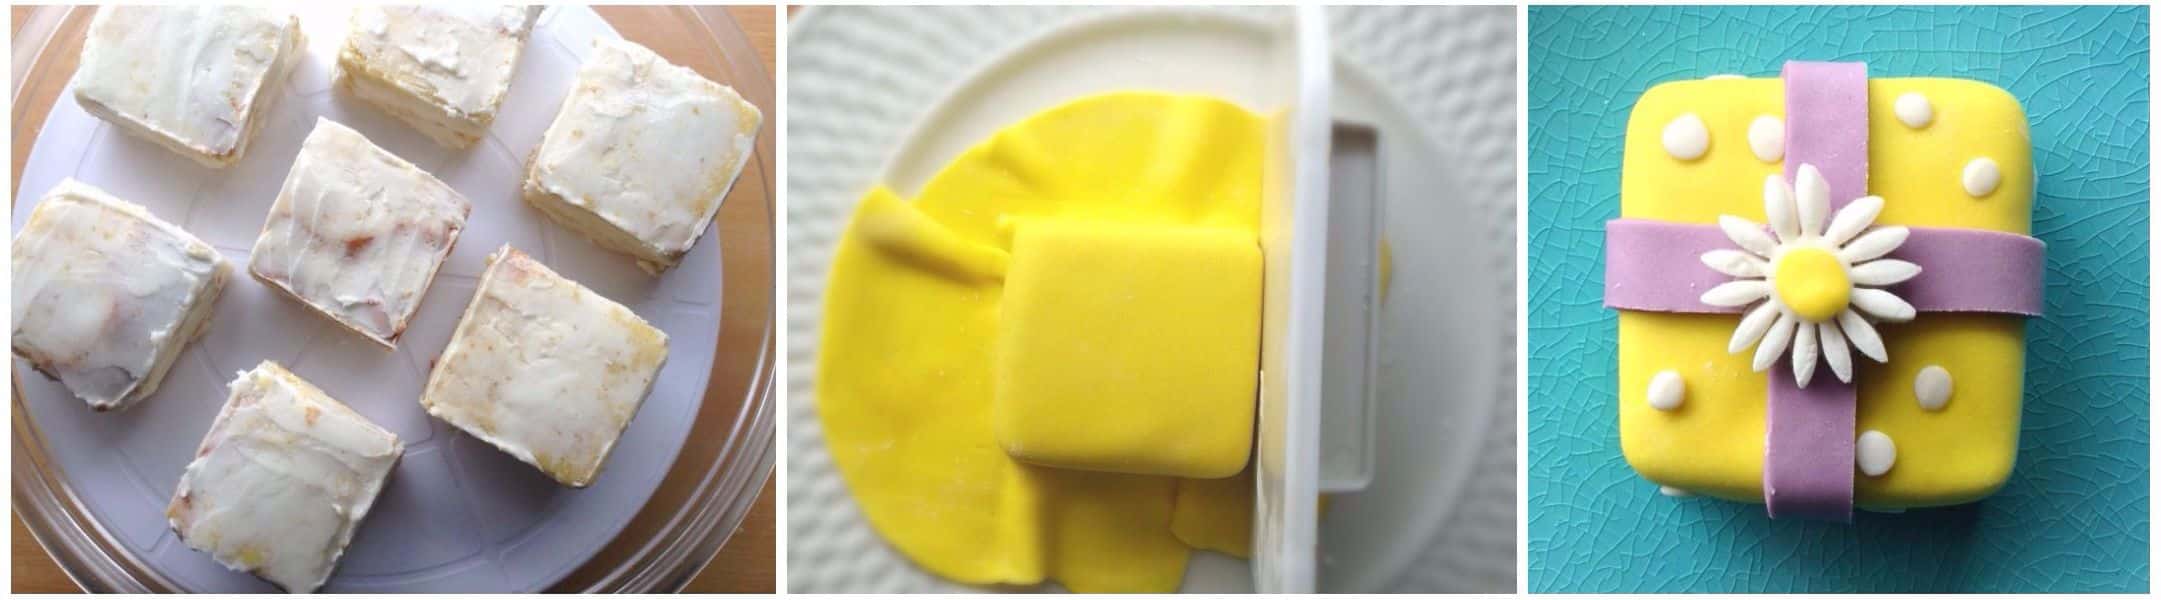
The fondant is kneaded a bit, just to soften and then draped over the individual square.
Shape around the 4 corners then using a fondant smoother, to push out any creases to create a smooth polished look.
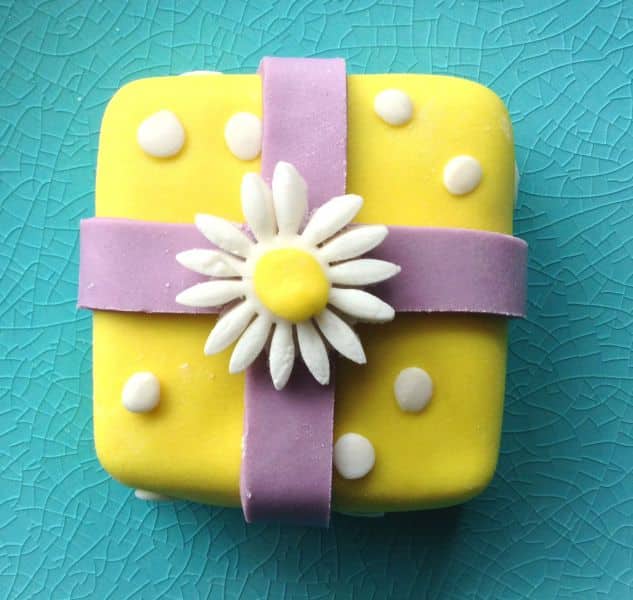
Cut off excess fondant and keep in a sealed bag and cut to form strips to create the ribbon around the cake.
I just cut out little flowers to serve as the bow, but you can decorate it as you prefer.
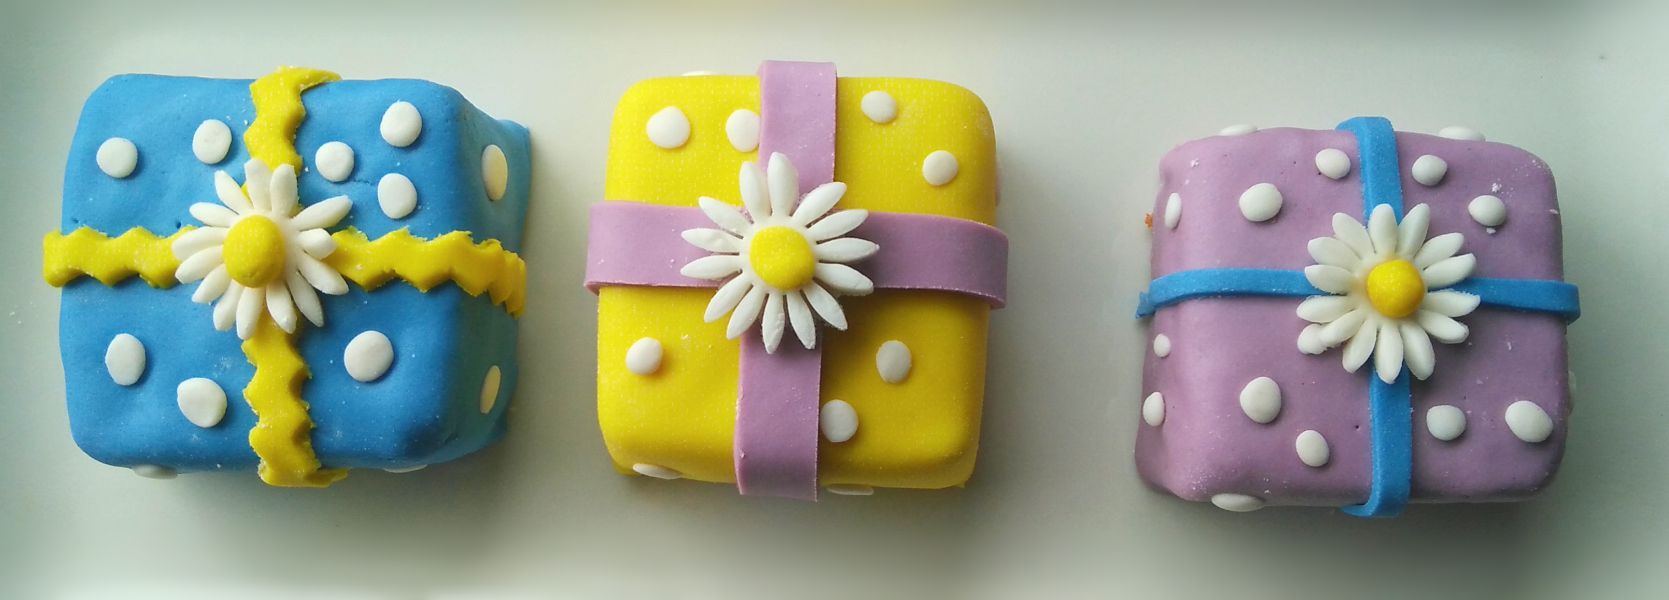
I usually just buy white fondant and then colour it with gel or powdered colouring. Try not use the liquid food colouring because it will make the fondant too sticky and a bit more difficult to work with.
That's it, really easy , but so cute and impressive.
I hope that you have as much fun as I did working on this...and I think that it is a great idea to let the kids get involved, decorating their own desserts or to give as a little gift.
Enjoy ♥
Mini Gift Box Cakes

FOR THE CAKE
- 1½ cups / 225g cake flour all purpose flour
- 3¼ teaspoon baking powder
- 4 eggs
- 1 cup / 225g butter softened ( 2 sticks / 8 oz)
- 1 cup / 225g caster sugar superfine sugar ( 7 oz)
- 1 teaspoon vanilla essence / extract
- 2 teaspoon / 10 ml milk
FOR THE BUTTERCREAM FROSTING
- 1 cup / 225g butter softened ( 2 sticks / 8 oz)
- 3 cups / 375g cups icing /powdered sugar sift if there are any lumps
- 1 ½ tablespoons milk
- 1 teaspoons vanilla extract
- Rolled fondant colored to your preference SEE NOTE 1
FOR THE CAKE
- Preheat the oven to 160ºC / 320 °F
- Grease and line a 8 inch/20cm square baking pan
- Sift the flour and baking powder into a large bowl.
- Add the eggs, butter ,caster sugar, vanilla extract and milk and beat until thoroughly mixed.
- Pour into the lined baking pan
- Bake for 25-30 minutes. To check if the cake is cooked insert a skewer and if it comes out clean the cake is ready.
- Leave to cool in the tin for about 10 minutes and then move to a wire rack to cool completely. Place in the fridge before cutting through the cake to divide into 2 equal layers. Then using a square cookie cutter as a guide cut into 12 equal sized squares. I used a 6cm square cookie cutter.
- Spread a layer of jam and buttercream on 6 of the cut squares and sandwich with the remaining 6.
- Using a palette knife, apply the buttercream on the sandwiched cakes. Making sure that the corners are neat and smooth all around. Place in the fridge for about 20 minutes and then add another layer of buttercream making sure that it is smooth and neat. Place in the fridge for 20 minutes again to allow the buttercream to firm up making it easier when you are covering with the fondant.
- Knead the fondant and roll out on a clean dry surface lightly dusted with powdered sugar or corn flour. Cover the individual cakes and using a fondant smoother to shape and push out any bumps around the top and the edges. Cut out excess fondant at the base of the cake to use as decorating as you prefer.
FOR THE BUTTERCREAM
- Beat the butter in a mixer until it is creamy. Scrape your bowl. Add milk and extract and blend slowly until combined. Raise speed to medium and beat to form a smooth butter mixture.
- Add half of the powdered sugar and blend on low until combined. Srape bowl, add the remaining sugar and set the mixer to medium low and blend for 2-3 minutes.
- Resist the urge to add more milk right away because the buttercream will thin out as it mixes.
- After mixing on low for 2-3 minutes you can choose to add more milk, 1 teaspoon at a time, to reach your desired consistency.
- Frosting can be made softer with the addition of milk, ½ teaspoon at a time. This will keep for 3 days at room temperature or 2 weeks refrigerated

Laura says
I’ve never worked with fondant before - now you’ve inspired me! The colors of your packages are so adorable. And so creative! Thanks for the instruction and the recipe.
The Gardening Foodie says
Oh, thank you so much Laura, I really do hope that you give it a try...and I would love to know how it worked out 🙂
Emma - Bake Then Eat says
These are just so cute, I like working with fondant it’s so clean and easy to work with. These would definetly go down well at any party.
The Gardening Foodie says
Thank you Emma, that is so true, working with fondant really is easy and makes a cake look so beautiful 🙂
Angie@Angie's Recipes says
wow they are so adorable and pretty!
The Gardening Foodie says
Thank you Angie 🙂
Deepika|TheLoveOfCakes says
I haven't worked with fondant before, but these mini cake boxes are too cute!! Love how you have decorated them! These are so cute for gifting! Love them!
The Gardening Foodie says
Thank you Deepika, fondant is really fun to work with and you can really get so creative with it 🙂
neil@neilshealthymeals.com says
These are seriously good Ashika. Absolutely professionally decorated. You should be making and selling these to local cake shops!
The Gardening Foodie says
Thank you so much Neil I really appreciate your awesome comment, that is a great idea...maybe I will give it a try 🙂
Maria | kitchenathoskins says
You are an artist my friend!!!! These are way too darn adorable and each cake is a work of art. Anyone will flip to receive these:)
The Gardening Foodie says
Aww thank you Maria, you are too kind 🙂
I gave a few of these to my neighbour and I laughed when she asked..."Can you really eat these or are they ornaments?"
Kelsie | the itsy-bitsy kitchen says
You are a cake magician, my dear. These little cakes are too cute for words! And they sound delicious too 🙂
The Gardening Foodie says
Thank you Kelsie, I had so much fun making these little treats...and oh yes they are so yummy 🙂
Katherine | Love In My Oven says
These are ADORABLE!! I'm a little shy with fondant, but after seeing things like this I feel like I need to try again. My boys would just love these!!
The Gardening Foodie says
Thank you Katherine...you really need to give this a go, you get used to working with it and the the creativity is absolutely endless:)
Alia @ Everyday Easy Eats says
OH MY GOSH Ashika those are so cute!!!! AHH! I'm so impressed with your fondant skills! I have never worked with fondant before, I have only seen people work with it on baking shows. Your Mini Gift Box Cakes are so perfect for the holidays! Great work my friend!
The Gardening Foodie says
Awww thank you Alia....you are are such a sweetheart. I love working with fondant, it makes cakes really look great. You should give it a try as well, it is so much fun 🙂
Thao @ In Good Flavor says
These are so darn cute!! They are too pretty to eat, but I think I can manage to sacrifice a few if they were in front of me 🙂
The Gardening Foodie says
Thank you Thao...hahaha these are way to tempting, so you really can't help eating them 🙂
Kelly @ Kelly Lynns Sweets and Treats says
So cute! Your decorations are on point!!
The Gardening Foodie says
Thank you Kelly 🙂
heather (delicious not gorgeous) says
these are so cute!!! i still haven't played around with fondant, but doing mini cakes sounds like a good starting point (: