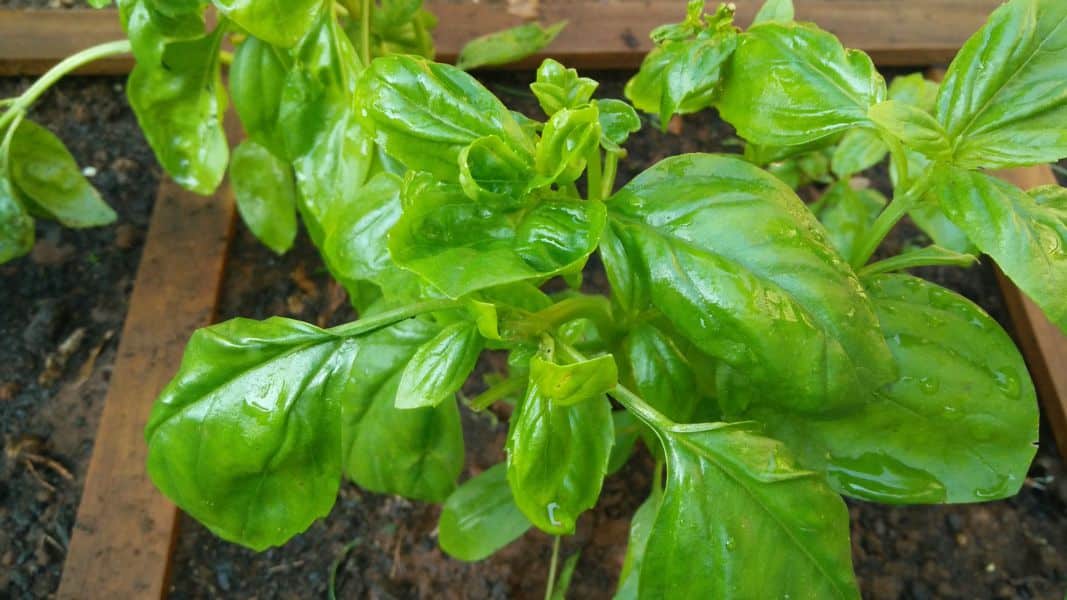
Growing Basil is a simple and easy process. I LOVE the taste and aroma of sweet basil. It really adds flavour to grilled cheese sandwiches,pizzas and pasta.
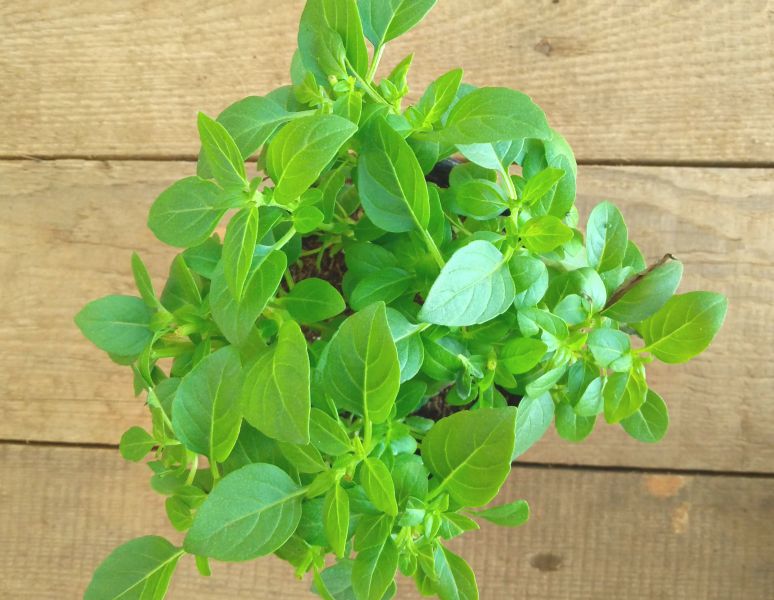
Anyway since I love eating it, I also enjoy growing and propagating it as well. It is such a simple herb to grow and a great plant to have on your kitchen window sill.
I will show you just how easy it is to grow your own basil in 2 different ways to guarantee success. Imagine picking fresh leaves from a basil plant, which you grew, free from chemicals, pesticides and haven't been sitting in a store refrigerator for weeks. The feeling and the taste is simply amazing.
Sweet basil is an annual,which basically means that the plant cycle lasts just one year, they germinate from seed, grow to maturity,and produce new seeds within one year. They are quick to germinate from seed or root from cuttings.
If you have a garden where you grow tomatoes or even if you grow tomatoes in a pot, plant some basil around it. Basil repels insects which attack tomatoes. This companion planting also makes the tomatoes taste great
I grow basil in two ways, either by seed or stem cuttings. Both methods are extremely simple and both have always been successful. These methods are cheap as well and don't require any special equipment or chemicals.
GROWING BASIL USING SEEDS
You will need
- Basil seeds
- Flat trays or pots
- Potting soil
- Spray bottle with water
- Clear dome or clear plastic bag
How it's done
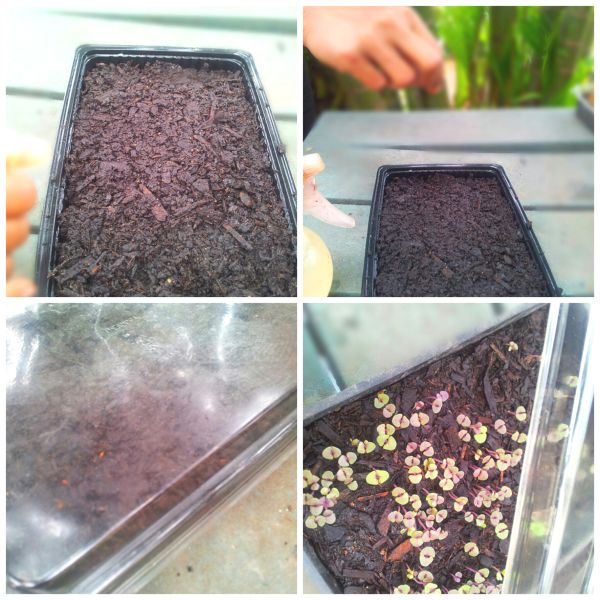
- Fill the pots or flat trays up to about ¾ with the potting soil and press down to form a level surface. Spray the soil with water. I usually do this before adding the seeds, so the seeds stick to the surface of the soil more easily and they also do not move around with the water pressure after they have been sown
- Basil seeds are very tiny so sprinkle them on the surface of the soil and gently press them down. I never cover the seeds with anymore soil and they germinate faster. You can give it a very light spray now if you like, but don't use a high pressure watering.
- Place a clear dome over the tray or place the entire pot or tray into a clear plastic bag.This serves as a mini greenhouse, keeping the temperature constant.
- Keep the pot or tray in a well-lit area. Not in direct sunlight.
- The seeds should germinate within 5 to 7 days. As soon as you see it the plants emerging from the seed, remove the dome or plastic wrap.
- Place the pot or tray in a well-lit area, near or on a windowsill is a good place , again not in direct sunlight. If you find that your seedlings are becoming tall,leggy and weak and tilting for the light ( this happens when you start seedlings indoors and there is not enough sunlight) place your seedling tray outside where it is brighter but is shaded slightly from direct sunlight. This will fix the problem.
- Keep the soil moist but not soaking otherwise the roots will rot and the plant will die. If any water collects on the saucer under the pot, make sure that you empty it out because basil dislikes sitting in too much of water.
- You can feed your plant at this stage with a weak solution of liquid fertiliser. I use nitrosol to feed the plants every two weeks.
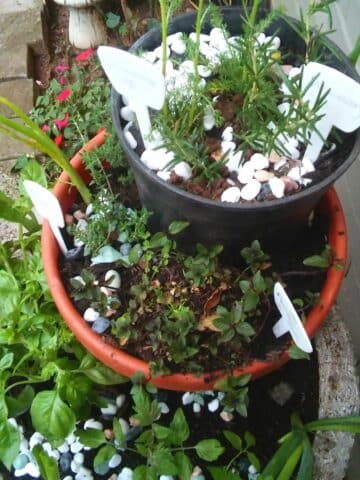
- The plant can be left in the pot or transplant into bigger pots or into your garden. Only transplant when the plant is big and strong enough to handle.
- Transplant in the early morning or late afternoon when it is cooler, so that the plant does not wilt too much.
- Plant it in slight shade so that it does not burn in the sun and mulch with grass clippings around the stem to keep the plant cool.
- Water every 3 days and try to water in the mornings, so that the water dries off the leaves otherwise the plant will get a powdery mildew which is not good for the plants.
That is it. Remember to pick the leaves as often as you want as this encourages the plant to produce more leaves. Also pick and remove the flowers as soon as they appear. the flowers produce seeds and the plant ends its cycle, does not produce much leaves and dies earlier.
PLANTING BASIL USING STEM CUTTINGS
You will need
- stem cuttings from a basil plant or store-bought basil stems
- small container with water
- Make a cut about 4 inches / 10cm of new stem growth just below leaf nodes.
- Place the cutting in water and change the water every two days.
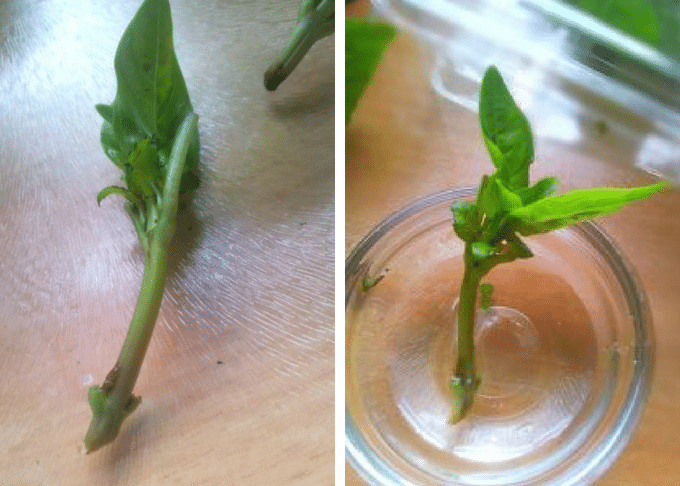
- Roots will start emerging after about 5 days
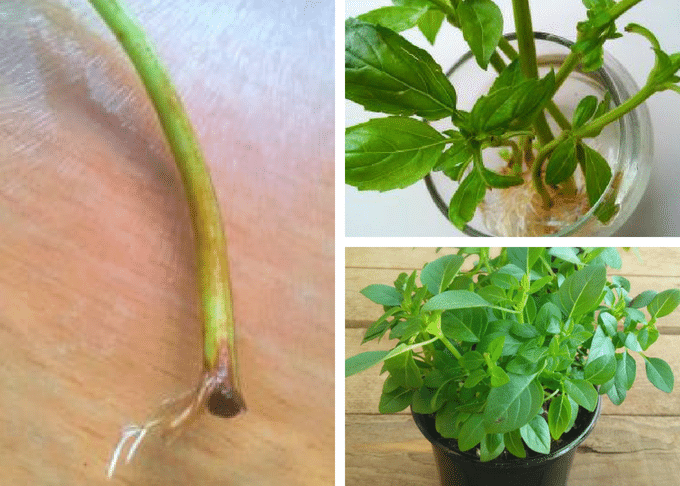
Once the roots are about 2 inches / 5cm or longer, you can plant the cutting in a pot or in your garden. Now that you know how to grow basil, you can impress your family and friends with potted basil plant gifts and have an endless supply of this delicious aromatic herb for your recipes.

ENJOY ♥
LOOKING FOR RECIPES IN WHICH TO USE YOUR BASIL ...HERE YOU GO

STOVE TOP VEGETABLE LASAGNA

SPICED TOMATO SOUP WITH GRILLED SMOKED MOZZARELLA AND BASIL SANDWICHES


Kelly Lynns Sweets and Treats says
I will have to try this!! I normally have a brown thumb though!!
Maria | kitchenathoskins says
You have no idea how timely this post is Ashika! I have been so droopy this past month because my basil could not handle our summer heat and began to dry a little. I tried moving my pot to a shaded area, but that is of not help either. It is surviving, but droopy unhealthy looking leaves. Dang, I hate my brown thumb:)
Kelsie | the itsy-bitsy kitchen says
You've inspired me. I usually can't get plants (other than aloe) to grow but I'm going to try growing basil. Having a pop of green in the kitchen would be so nice!
Laura says
I love having a basil plant! I usually buy a potted plant at Trader Joe’s, and use up the basil until it’s gone. But growing my own looks so easy! Thanks for the inspiration!
keshav badul says
Looks nice 🙂
The Gardening Foodie says
Thank you 🙂
Angie says
I have grown basil and peppermint outdoors on sheltered patio with morning/early afternoon sun successfully.
I would like to try growing these indoors by a west facing window. Have you tried growing herbs indoors?
Looking forward to trying your 4 ingredient English Muffin recipe.
The Gardening Foodie says
Hi Angie, sorry for the late response!
I do grow herbs indoors, and they can thrive with the right conditions. A west-facing window should work well, as herbs typically need plenty of light. Just be sure to rotate them occasionally for even sunlight. I hope your indoor herb garden flourishes 🙂 And I’m excited that you’re going to try the 4-ingredient English Muffin recipe, it’s so simple and delicious! Enjoy! 😊