
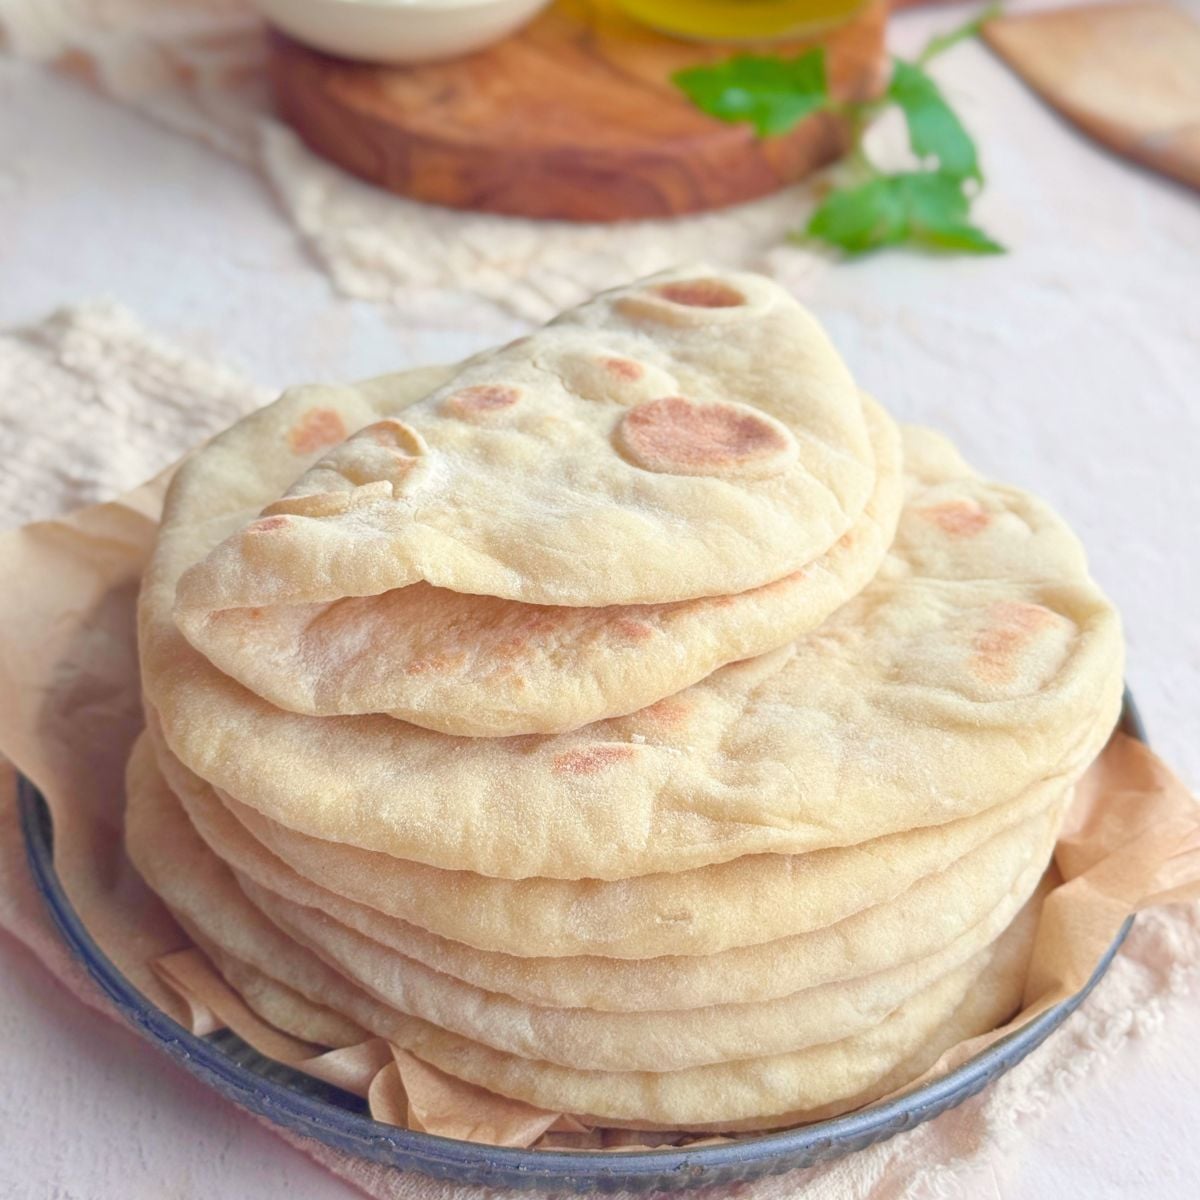
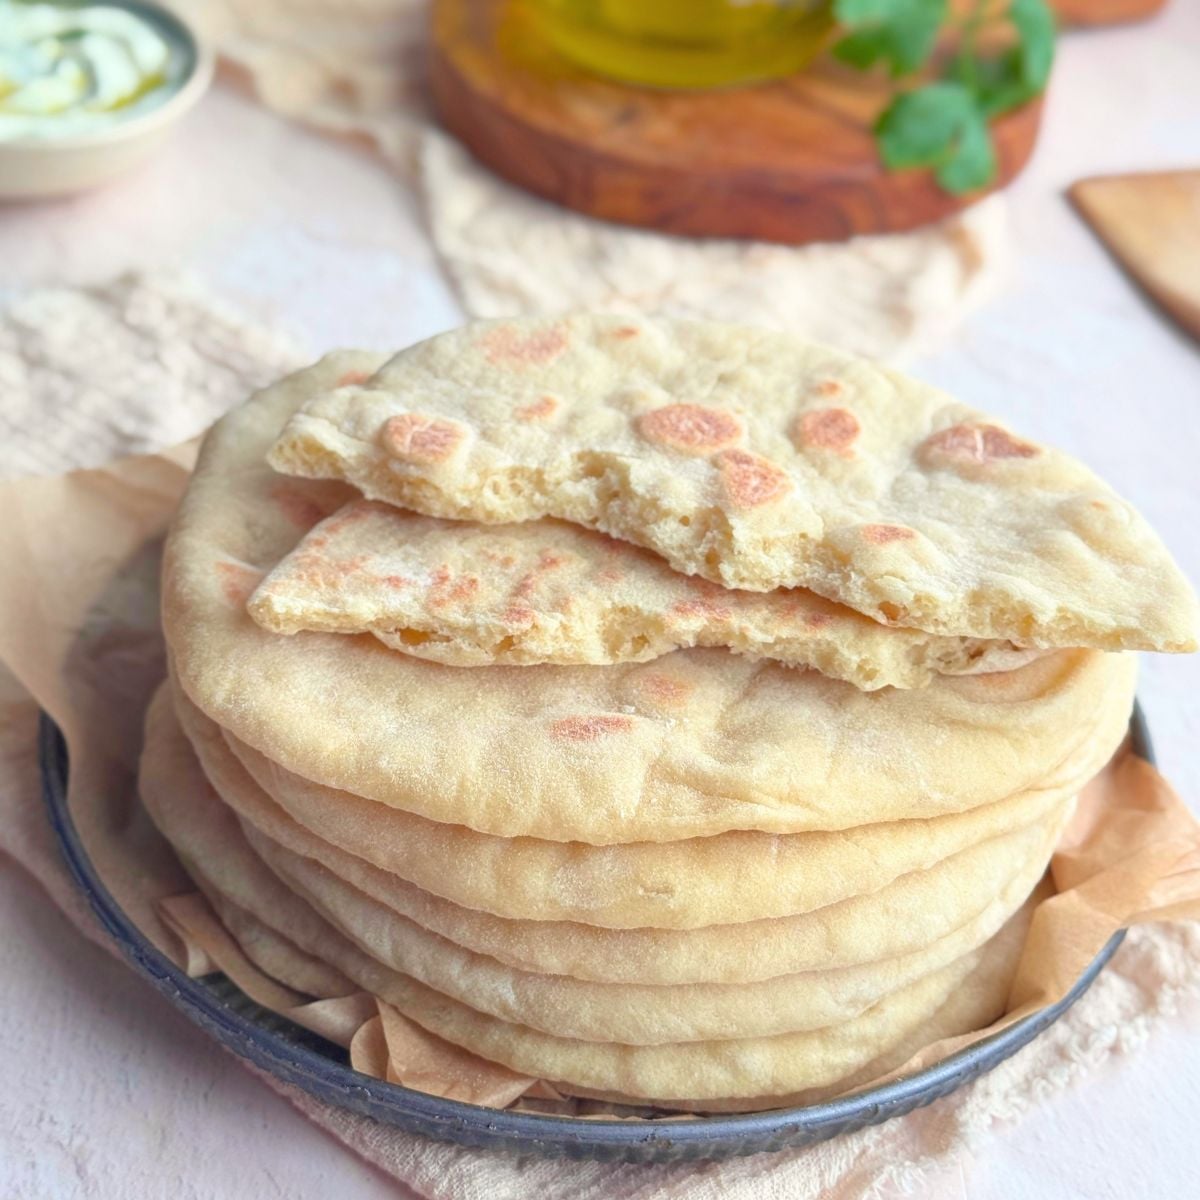
Greek pita is a soft, yeast-based flatbread cooked in a skillet until lightly golden. Unlike pita that puffs to form a pocket, Greek pita cooks into a soft, fluffy flatbread that's perfect for dipping or wrapping around your favorite fillings.

Step by step photos
These visual instructions help you see the process. You can also find the full printable recipe with ingredient amounts and instructions at the end of the post.
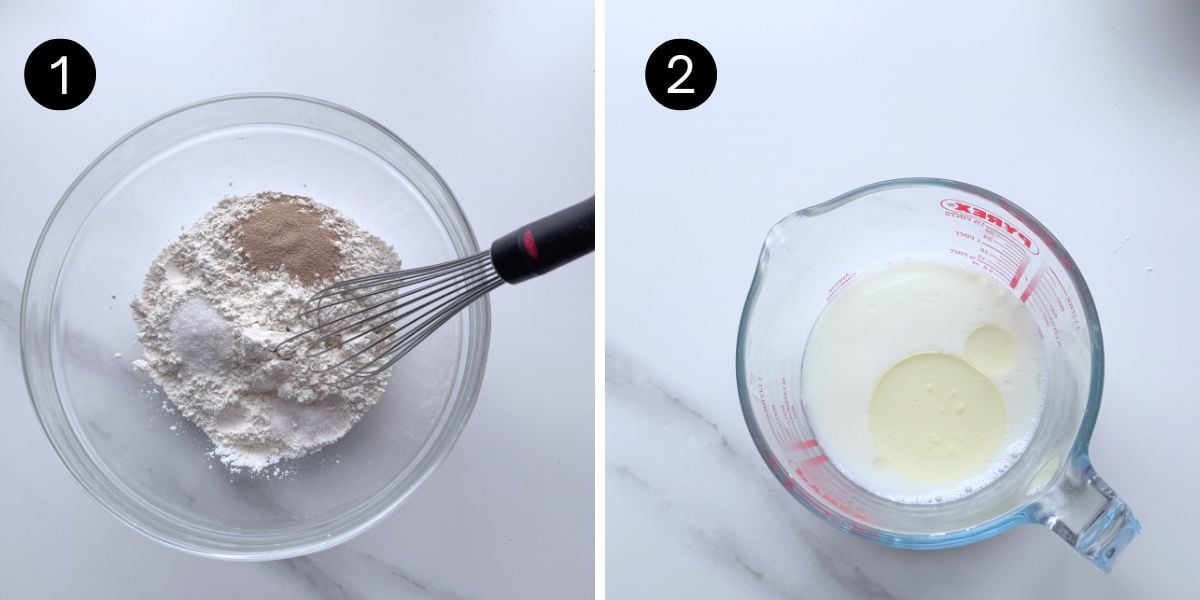
- Flour mixture: In a large bowl, whisk together the flour, instant yeast, sugar, and salt.
- Milk mixture: In a measuring jug or small bowl, stir together the warm milk, warm water, and olive oil.
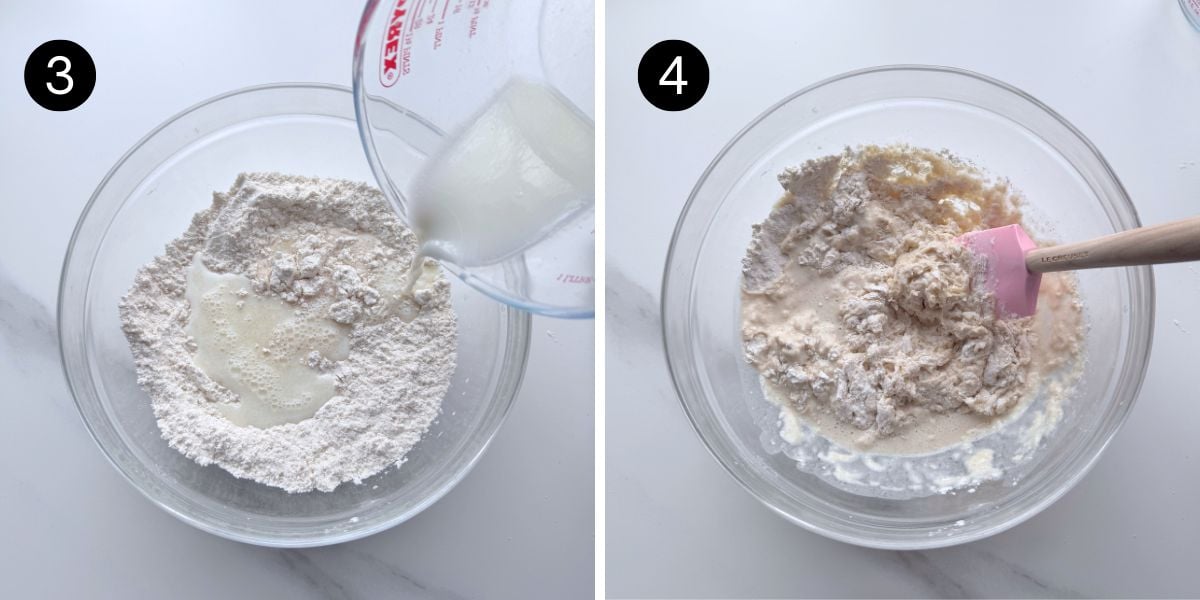
- Pour the milk mixture into the flour mixture.
- Mix with a spatula or wooden spoon until no dry flour remains and a shaggy dough forms.
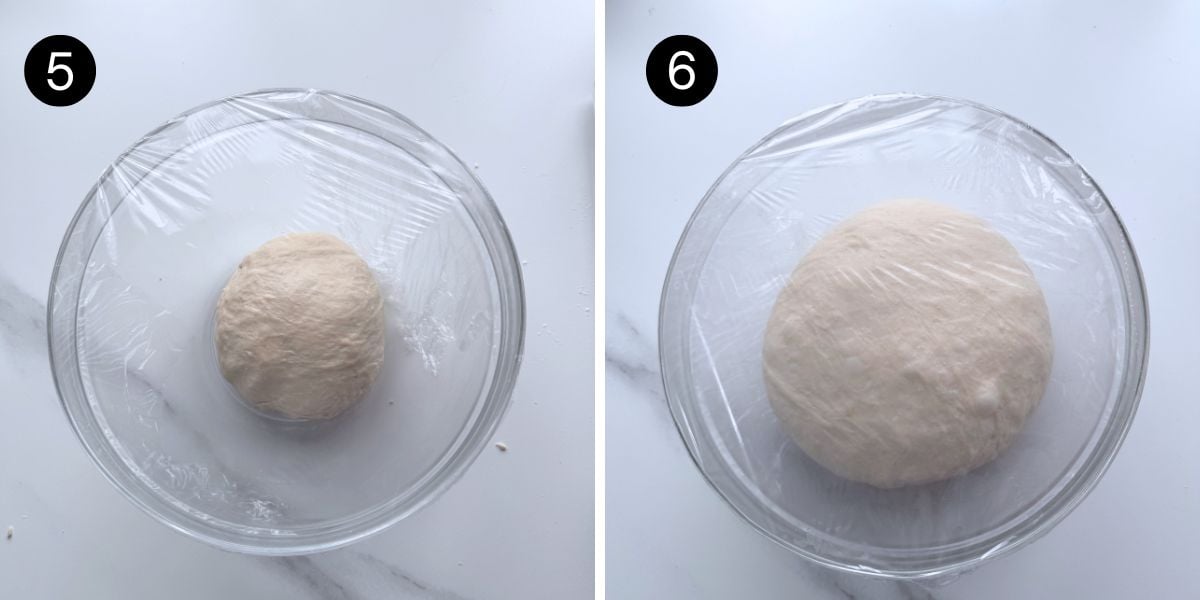
- Turn the dough onto a lightly floured surface and knead for 4 to 5 minutes, until smooth and elastic. Place the dough in a lightly greased bowl, cover, and let rise in a warm place for 45 to 60 minutes, or until doubled in size.
- After rising, the dough should have doubled in size.
The dough will be slightly sticky at first. While kneading, you can add up to a total of 3 to 4 tablespoons of extra flour, a little at a time, until the dough is smooth and easy to handle.
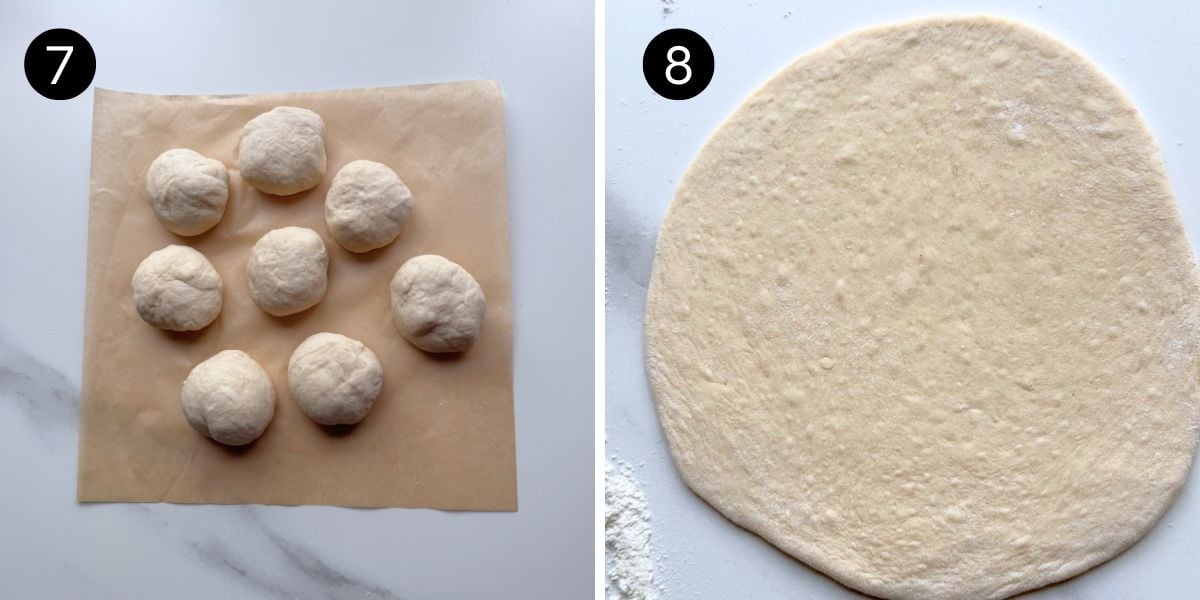
- Flour your hands and divide the dough into 8 equal pieces. Shape each piece into a smooth ball.
- Roll each dough ball into a circle about 6 inches (15 cm) in diameter and about ¼ inch (6 mm) thick.
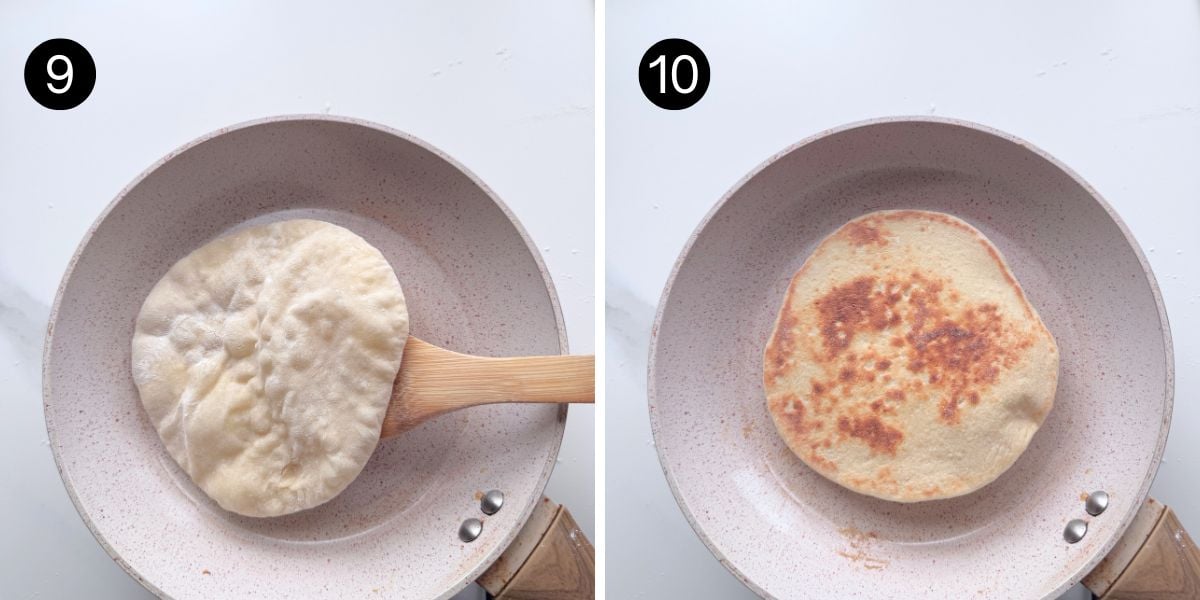
- Heat a non-stick dry skillet over medium heat. Cook one pita at a time for 1 to 2 minutes, until bubbles begin to form.
- Flip and cook for another 1 to 2 minutes, until the underside is lightly browned. If needed, flip once more and cook for a few more seconds. Transfer the cooked pitas to a plate and keep them covered while cooking the remaining pitas. This helps keep them soft.
Storage
- Room temperature: Store cooled pitas in an airtight container for up to 2 days.
- Freezer: Place cooled pitas in a freezer safe bag or airtight container and freeze for up to 2 months. Place a sheet of parchment paper between each pita to prevent them from sticking together. To serve, thaw at room temperature or warm the pitas in a skillet over medium heat for 30 to 60 seconds per side until heated through.
Yeast Options
I use instant yeast (rapid-rise/fast-acting yeast) in this recipe.
- If you're using active dry yeast instead, use the same amount (2 teaspoons). Stir it into the warm milk, warm water, and sugar from the recipe, then let it stand for 5 to 10 minutes until foamy.
- Stir in the olive oil and continue with the recipe as written.
Recipe tips
- Use warm, not hot, liquids. The milk and water should feel warm to the touch, about 100°F to 110°F (38°C to 43°C), to help the yeast activate properly.
- Let the dough rise until doubled. Rising times can vary depending on the temperature of your kitchen. The dough is ready when it has roughly doubled in size.
- Roll evenly. Roll each pita to about 6 inches (15 cm) in diameter and ¼ inch (6 mm) thick so they cook evenly.
- Use a non-stick skillet. If your skillet isn't non-stick, lightly grease it with a little oil before cooking each pita to help prevent sticking.
Recipe
Greek Pita Flatbread

Watch how to make the recipe
- 2½ cups (300 g) all purpose flour (plain flour)
- 2 teaspoons (7 g) instant yeast (rapid-rise/fast-acting yeast)
- 1 teaspoon (4 g) white granulated sugar
- 1 teaspoon salt
- ½ cup (120 ml) lukewarm milk (100°F–110°F / 38°C–43°C)
- ½ cup (120 ml )lukewarm water (100°F–110°F / 38°C–43°C)
- 1 tablespoon (15 ml) olive oil (or vegetable oil)
- Flour mixture: In a large bowl, whisk together the all purpose flour, instant yeast, sugar, and salt.
- Milk mixture: In a measuring jug or small bowl, stir together the lukewarm milk, lukewarm water, and olive oil.
- Combine: Pour the milk mixture into the flour mixture. Mix with a spatula or wooden spoon until no dry flour remains and a shaggy dough forms.
- Knead: Turn the dough onto a lightly floured surface and knead for 4 to 5 minutes until smooth and elastic. The dough will be slightly sticky at first. While kneading, add up to a total of 3 to 4 tablespoons of extra flour, a little at a time, until the dough is smooth and easy to handle.
- Rise: Place the dough in a lightly greased bowl. Cover and let rise in a warm place for 45 to 60 minutes, or until doubled in size.
- Shape: Flour your hands and divide the dough into 8 equal pieces. Shape each piece into a smooth ball.
- Roll: Roll each dough ball into a circle about 6 inches (15 cm) in diameter and about ¼ inch (6 mm) thick.
- Cook: Heat a non-stick dry skillet over medium heat. Cook one pita at a time for 1 to 2 minutes per side, until lightly golden with a few darker spots and cooked through.
- Transfer the cooked pitas to a plate and keep them covered while cooking the remaining pitas. This helps keep them soft.
Storage
- Room temperature: Store cooled pitas in an airtight container at room temperature for up to 2 days.
- Freezer: Freeze in a freezer-safe bag or airtight container for up to 2 months, placing parchment paper between each pita. Thaw at room temperature or warm in a skillet over medium heat until heated through.
Hungry for more?
Sign up for my free newsletter to get emails about new recipes .And don't forget to follow me on YouTube, Facebook, Pinterest, and Instagram for all the latest deliciousness.


Anne says
This looks absolutely delicious, soft and fluffy. The recipe doesn't seem overwhelming either. Can't wait to see what you suggested for fillings!
The Gardening Foodie says
Thank you Anne, it is really easy to prepare, not overwhelming at all 🙂
Dawn- Girl Heart Food says
I love all sorts of homemade bread recipes too...it's so relaxing making something from scratch like that. These look so fluffy and I love how easy they are to prepare! Cant wait to give these a try!
The Gardening Foodie says
Thank you Dawn, that is so true, it really is relaxing.
I hope that you get a chance to give these a try too 🙂
Kelly @ Kelly Lynns Sweets and Treats says
You definitely make these look easy to make! I love homemade bread and I need to do it more often! These pitas look good enough to just eat plain!!
The Gardening Foodie says
Thank you Kelly...haha, I am guilty of eating a few of these plain, straight off the stove...it just tastes so yummy 🙂
Rebecca | Becky Keeps House says
Girl, you are killing it with these awesome bread recipes lately! These look so soft and delectable, I MUST add them to my recipe queue. Can't wait to try
The Gardening Foodie says
Thank you Becky, haha? sorry but I am totally addicted to baking different types of bread....and its not over yet?
Cannot wait for you to give it a try 🙂
puja says
I love flatbread. That too when it is served along with some spicy curry. I liked your version of making this recipe would love to try it once. 🙂
The Gardening Foodie says
Thank you Puja, oh yes it is perfect with curry too, I hope that you get to try it out soon 🙂
Louise (Cooking with Kids) says
I bought some pita for the first time in years yesterday. I have to say that these look much nicer! You really are inspiring me with this blog - I need to try making some different breads
The Gardening Foodie says
Aww thank you Louise, homemade breads are so delicious and not at all difficult to make, I hope that you get a chance to give these a try 🙂
Emma - Bake Then Eat says
These look so soft and fluffy, yum! Homemade bread is amazing I wish I had your skill in making it.
keshav badul says
Thank you for the recipe 🙂