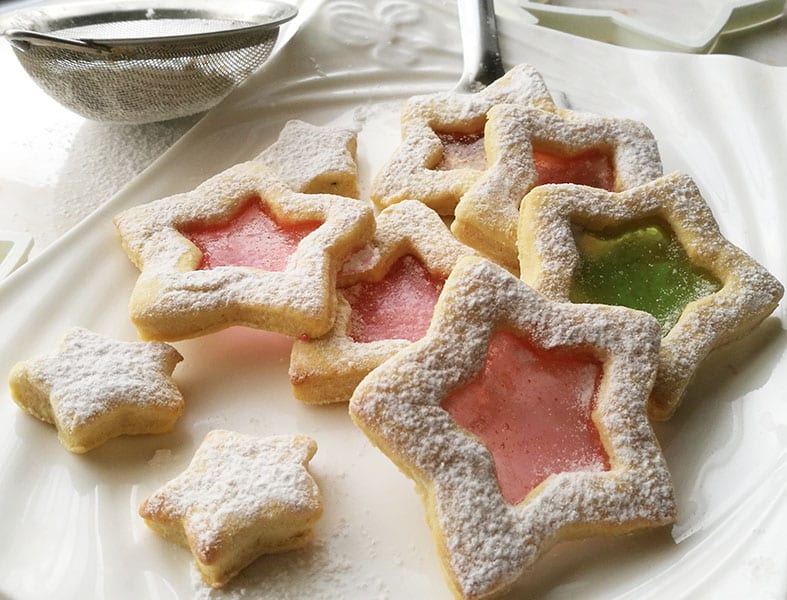
These beautiful festive Stained Glass Butter Cookies are super impressive and so easy to make too. A light buttery cookie filled with hard candy to create a stunning stained glass effect.
Stained Glass Butter Cookies
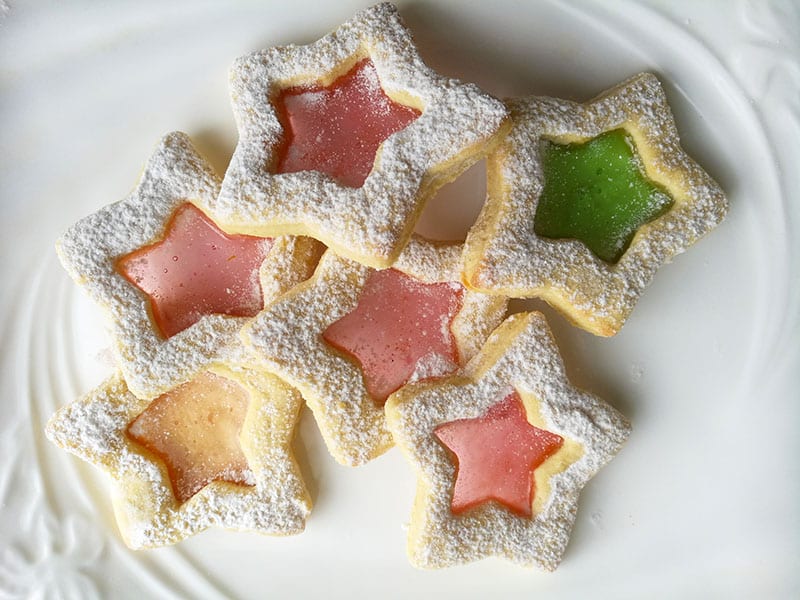
These cookies are just so pretty. With their bright clear colourful filled candy, adding a fun bake to your holiday season.
Turn your stained glass cookie into edible Christmas decorations
Not only do these make a great addition to the cookie jar, but they also make beautiful edible Christmas ornaments. It looks absolutely amazing with the blinking lights shining through the bright clear candy.
Simply poke a hole through the shaped dough and thread after baking with colourful rope or string to attach to the branches of the tree.
What goes into it
- Butter- should be soft to room temperature, making it easier to beat.
- Sugar - white granulated or castor sugar can be used in the recipe
- Buttermilk - contributes to the light, delicate texture of the cookies. If you do not have buttermilk then make your own by adding 1 Tablespoon/ 15ml lemon juice or vinegar to ½ cup / 125ml milk. Set aside for 5 minutes before using in the recipe.
- Vanilla extract
- Flour - You can use cake flour or all-purpose flour in the recipe
- Assorted colour hard candy - these can be either crushed or left as a whole candy to fill the inside of the cutout shapes before baking.
Freeze the dough
A great advantage of this recipe is that you can prepare the dough and freeze it for up to 2 months.
Just place it in plastic wrap and keep in an airtight container. It is important that the container be airtight to prevent the unbaked dough from absorbing any unwanted odours from the fridge. If the dough does absorb any odours, it will affect the taste once baked
Tips for perfect cookies
This is an easy recipe, however here are a few tips to ensure that you always have that perfect bake
Refrigeration of the dough - This firms up the dough, making it easier to cut into shapes. It also prevents the shaped dough from spreading during baking.
Use parchment/baking paper or grease the baking sheet well - This ensures that the melted candy does not stick to the baking sheet.
Dip the cutters in flour - To avoid the cutters sticking onto the dough while shaping. This creates neat shapes.
Remove only when cool - Allow the baked cookies to cool on the baking sheet for 5 to 10 minutes before gently removing. The melted candy will be very hot and soft after baking. Allowing it to cool will harden the melted candy and make it easier to remove off the baking sheet.
Topping and frosting
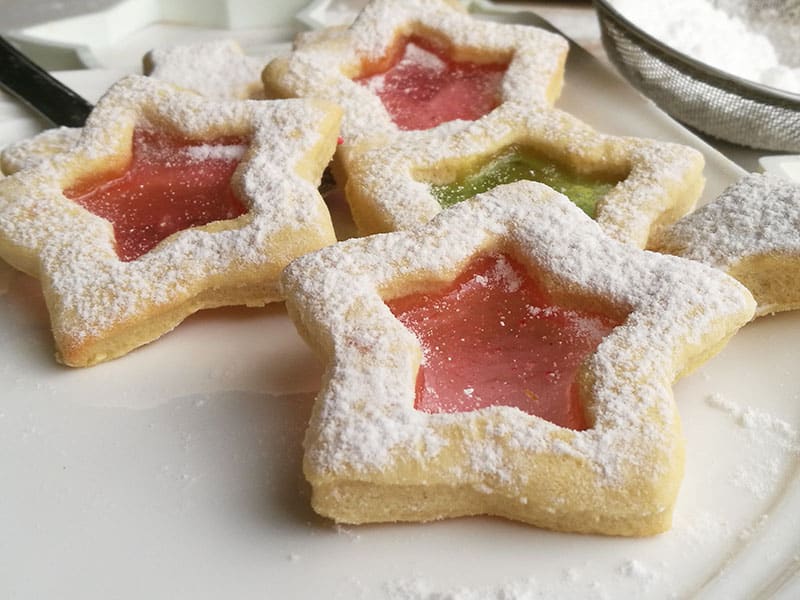
I really love how beautiful these cookies turn out even just out of the oven. You can leave and serve them as they are or add a bit of frosting or topping to create pretty borders. Some of the topping and frosting which look amazing include:
- Sifted powdered/icing sugar on the border
- Decorative piping on the border using royal icing, buttercream or glace.
- Dip the edges in castor sugar for a sparkly look.
Making the stained glass cookie
Use a mixer to beat together the butter and sugar. Beat for up to 4 minutes until the mixture is creamy and light in colour.
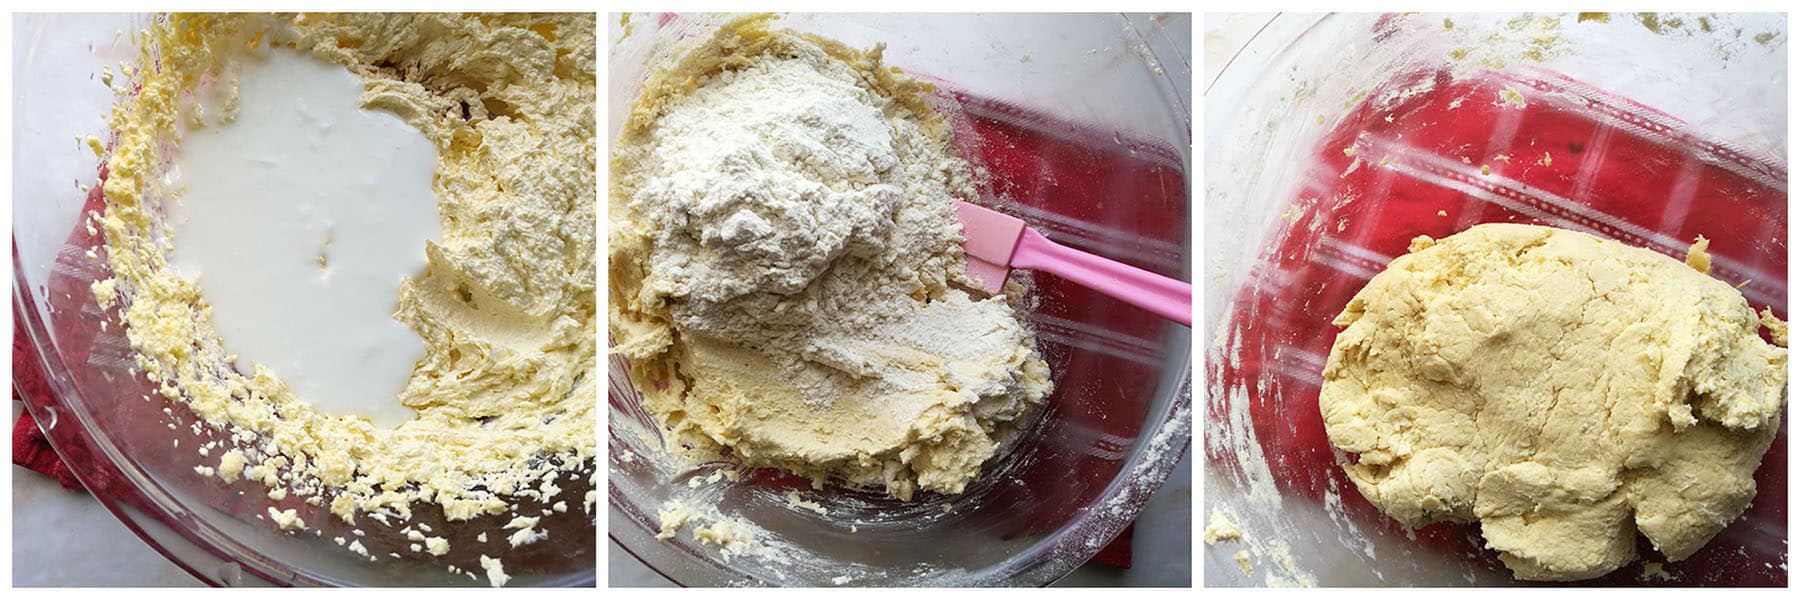
Add in the buttermilk and vanilla extract and beat until it is incorporated into the creamed mixture.
Fold in the flour, ⅓ ar a time using a metal spoon or spatula to form a soft dough.
 Press out the dough into a rectangle or form into a ball. Wrap the dough in plastic and refrigerate for 30 minutes or overnight.
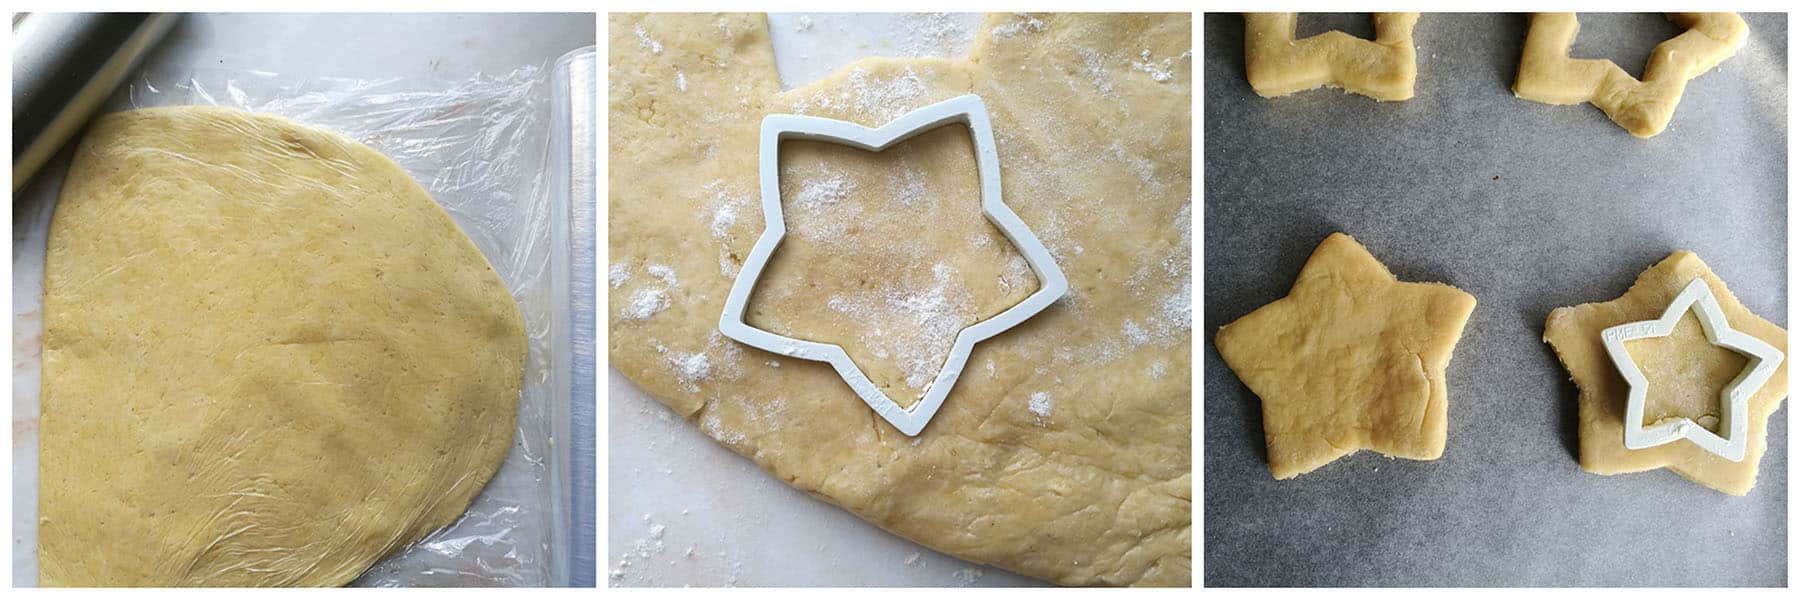
Remove the cookie dough from the fridge and roll out onto a well-floured surface, until about ½ an inch ( 1cm ) thick
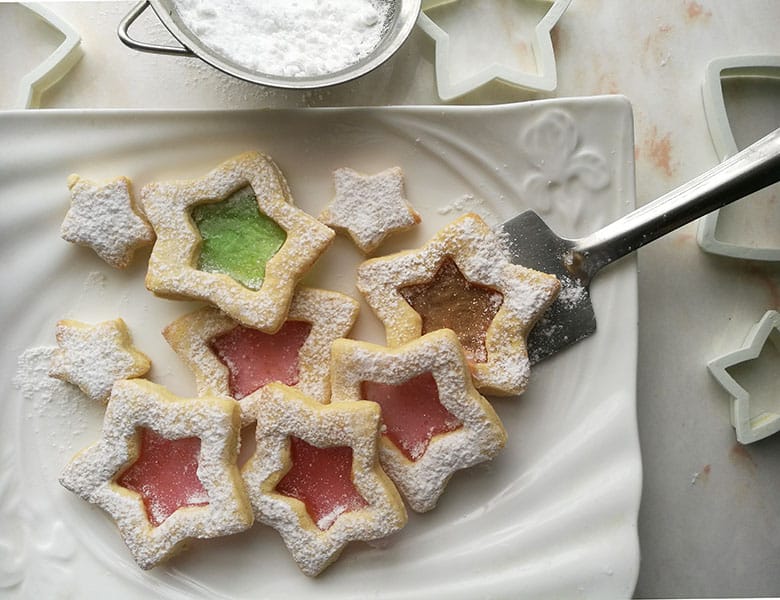
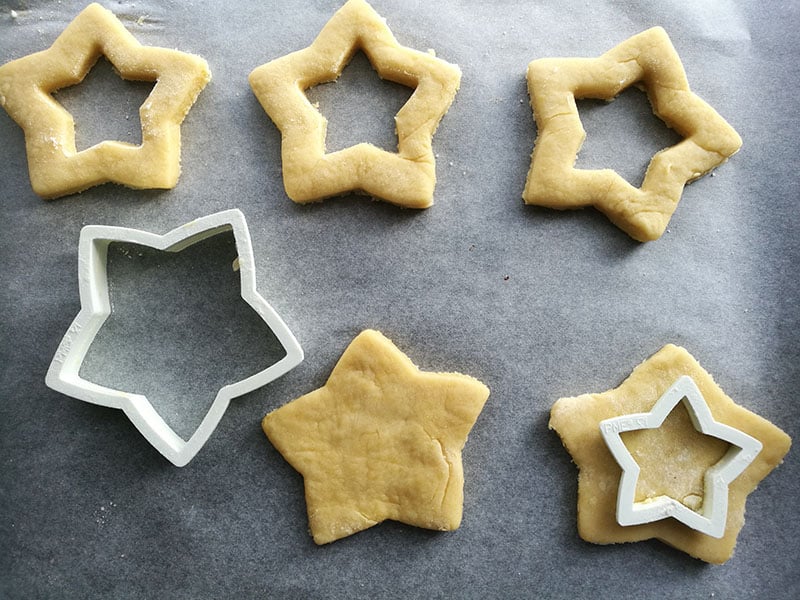
Cut out the cookies using any shape you prefer and place on the baking lined or greased a baking sheet. Use a smaller cutter to cut out the centre of the cookie dough making sure to leave a large enough border.
Separate the candy into colours and either crush or leave as a whole candy to fill the inside of the cutout shapes before baking.
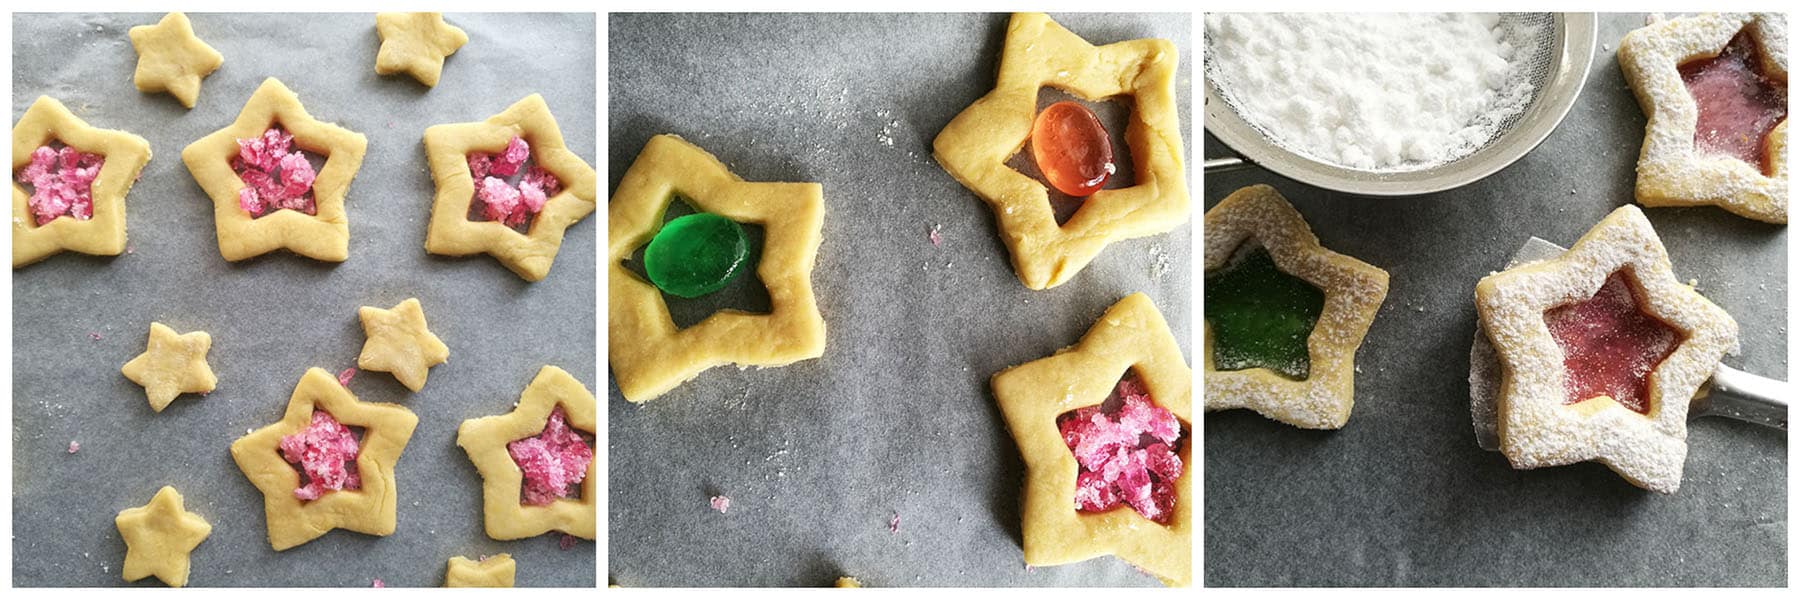
Bake for 10 to 12 minutes until the edges are golden and the candy has melted.
If you are using the cookies as an ornament then immediately after baking, use a toothpick to make a small hole at the top to thread a decorative ribbon.
Allow to cool on the baking sheet for 5 to 10 minutes before serving or using as an edible Christmas decoration.
Enjoy ♥
If you like this recipe, be sure to check out my other amazing cookie and slice recipes
Still hungry for more?
Follow on Facebook, Pinterest, and Instagram or Subscribe for the latest recipe updates.
Stained Glass Butter Cookies
- 1 cup butter softened
- 1 cup white sugar
- ½ cup buttermilk See note 1
- 1 ½ teaspoons vanilla extract
- 3 cups all-purpose flour OR cake flour
- Assorted colour hard candy See note 2
- Use a mixer to beat together the butter and sugar. Beat for up to 4 minutes until the mixture is creamy and light in colour.
- Add in the buttermilk and vanilla extract and beat until it is incorporated into the creamed mixture.
- Fold in the flour, ⅓ ar a time using a metal spoon or spatula to form a soft dough.
- Press out the dough into a rectangle or form into a ball. Wrap the dough in plastic and refrigerate for 30 minutes or overnight. See note 3
- Remove the cookie dough from the fridge and roll out onto a well-floured surface, until about ½ an inch ( 1cm ) thick
- Cut out the cookies using any shape you prefer and place on the baking lined or greased a baking sheet. Use a smaller cutter to cut out the centre of the cookie dough making sure to leave a large enough border.
- Separate the candy into colours and either crush or leave as a whole candy to fill the inside of the cutout shapes before baking.
- Bake for 10 to 12 minutes until the edges are golden and the candy has melted.
- If you are using the cookies as an ornament then immediately after baking, use a toothpick to make a small hole at the top to thread a decorative ribbon.
- Allow to cool on the baking sheet for 5 to 10 minutes before serving or using as an edible Christmas decoration. See note 4
- If you do not have buttermilk then make your own by adding 1 Tablespoon/ 15ml lemon juice or vinegar to ½ cup / 125ml milk. Set aside for 5 minutes before using in the recipe.
- These can be either crushed or left as a whole candy to fill the inside of the cutout shapes before baking.
- Refrigeration of the dough - This firms up the dough, making it easier to cut into shapes. It also prevents the shaped dough from spreading during baking.
- Allow the baked cookies to cool on the baking sheet for 5 to 10 minutes before gently removing. The melted candy will be very hot and soft after baking. Allowing it to cool will harden the melted candy and make it easier to remove off the baking sheet.


Kelsie | the itsy-bitsy kitchen says
These are BEAUTIFUL! They're so perfect for the holidays, too--I love the idea of using them as ornaments! Hope you're having a great week, Ashika!
Katherine | Love In My Oven says
These are so pretty, Ashika! I'm thinking I might make these for my cookie exchange coming up, because they're just so darn nice to look at!! And I"m sure they taste amazing!
Emma @ Bake Then Eat says
These cookies are beautiful and festive and I bet they taste great as well.
Neil says
I love these! Edible Christmas tree decorations. I'd have a problem in not wanting to just eat them all off the tree though. So they might not last all through until Christmas. Oh well what's Christmas without lots of eating. Ha ha!
NURSEY says
Hi. Which brand hard candy did you use?
The Gardening Foodie says
Hi, any semi-translucent or clear colorful hard candy works depending on the brand you get in your country. You can try Jolly Ranchers or even clear colorful lollipops.
I hope this helps answer your question 🙂
Happy Baking 🙂