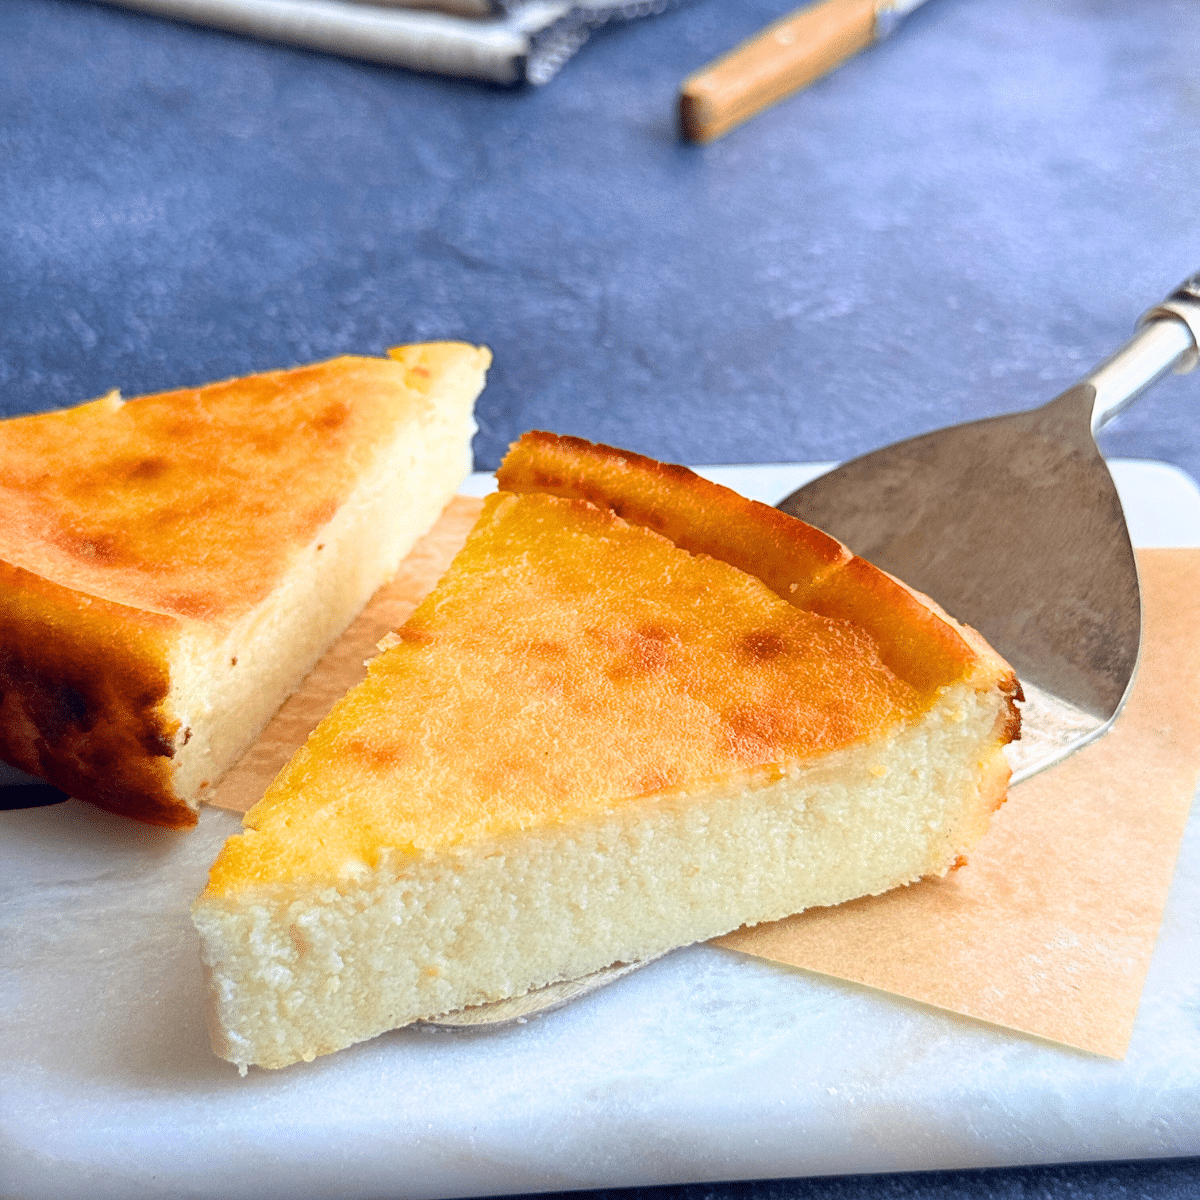
Lemon Ricotta Custard Cake
servings8 servings
An easy-to-make, single-layer bake with a soft, creamy center and light lemon flavor.
Ingredients
- 1 cup (240 ml) whole milk (full-fat)
- ½ cup (120 ml) water (tap water is fine)
- 3 tablespoons (45 g) unsalted butter
- ½ teaspoon salt (use ¼ teaspoon if using salted butter)
- ½ cup (90 g) fine semolina (see note 1)
- ¾ cup (150 g) white granulated sugar
- 1 cup (250 g) whole milk ricotta cheese (drain if watery) (cottage cheese isn’t recommended)
- 2 large eggs (lightly beaten)
- Zest of 1 lemon
- 1 teaspoon vanilla extract
Instructions
Preheat the oven
- Preheat to 175°C (350°F) conventional, or 160°C (320°F) fan.
- Grease and line an 8-inch (20 cm) springform pan or square pan with baking paper. (See Notes 2 and 3)
Cook the semolina
- In a medium saucepan, combine the milk, water, butter, and salt.
- Bring to a gentle simmer over medium heat. Slowly whisk in the semolina, stirring constantly to avoid lumps.
- Cook for 5 to 7 minutes, stirring often, until the mixture thickens into a smooth, spoonable consistency (like pudding before it sets).
Cool slightly and add sugar
- Stir in the sugar, it will soften the mixture and make it look a bit more liquid again. Don’t worry, that’s exactly how it should be.
- Let it cool for 10 to 15 minutes, until just warm. (See Note 4)
Add ricotta and eggs
- Add the ricotta, beaten eggs, and vanilla extract to the cooled semolina mixture. Whisk until smooth and fully combined.
Bake the cake
- Pour the batter into the prepared pan and smooth the top.
- Bake for 40 to 45 minutes, or until just set, the center should have a gentle wobble when the pan is shaken.
- It will firm up as it cools. Cracks on top are normal.
Cool and serve
- Let the cake cool in the pan for at least 1 hour. For clean, neater slices, chill before serving.
Serving and Storage
- Slices best when chilled
- Serve cold or at room temperature
- Store covered in the fridge for up to 4 days
Recipe Notes
1. Semolina options: Semolina flour works too, but the cake will be softer and more pudding-like.
Avoid coarse semolina, it stays gritty and makes the cake grainy.
2. What pan works best: A springform pan makes releasing the cake easier because it’s soft and custard-like.
3. Why not flip it? Flipping can cause cracks or collapse. This cake is too soft when warm to flip like a sponge — it’s better to release or lift gently.
4. Let it cool slightly before adding eggs: This prevents curdling and keeps the mixture smooth and silky.
See more recipe tips and visual instructions in post above
Avoid coarse semolina, it stays gritty and makes the cake grainy.
2. What pan works best: A springform pan makes releasing the cake easier because it’s soft and custard-like.
- No springform? A square pan lined with baking paper and a bit of overhang works just as well.
- Once cooled or chilled, you can lift it out and slice neatly into squares.
3. Why not flip it? Flipping can cause cracks or collapse. This cake is too soft when warm to flip like a sponge — it’s better to release or lift gently.
4. Let it cool slightly before adding eggs: This prevents curdling and keeps the mixture smooth and silky.
See more recipe tips and visual instructions in post above
Nutrition
Serving: 1serving | Calories: 237kcal | Carbohydrates: 29g | Protein: 7g | Fat: 10g | Saturated Fat: 6g | Polyunsaturated Fat: 1g | Monounsaturated Fat: 3g | Trans Fat: 0.2g | Cholesterol: 72mg | Sodium: 200mg | Potassium: 115mg | Fiber: 0.4g | Sugar: 20g | Calcium: 111mg | Iron: 1mg