Super easy to make, this soft moist and tender Red Velvet Cake is the perfect special occasion bake. Made with simple ingredients, to create a beautiful elegant cake, this is one amazing recipe that you have to try.
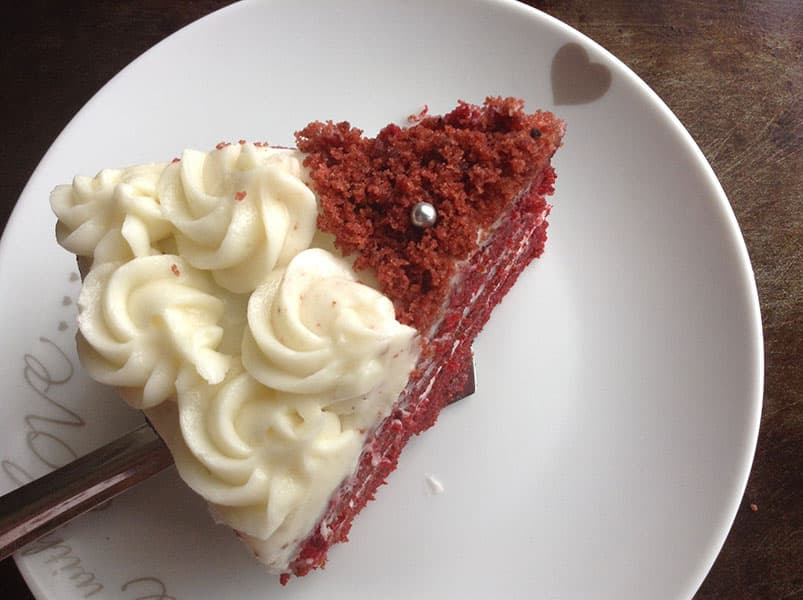
This classic cake recipe really lives up to the ‘velvet’ its name because I can promise you that the texture truly resembles that of velvet.
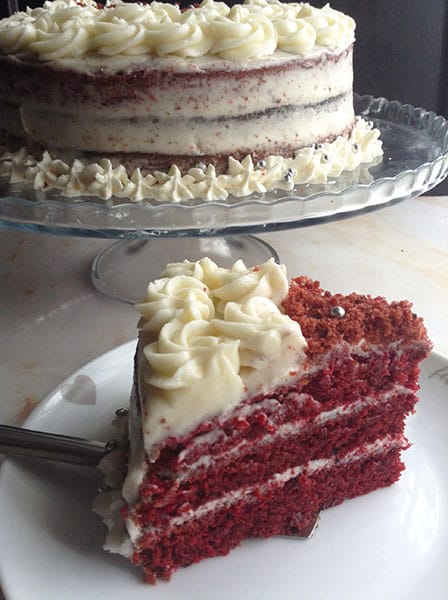
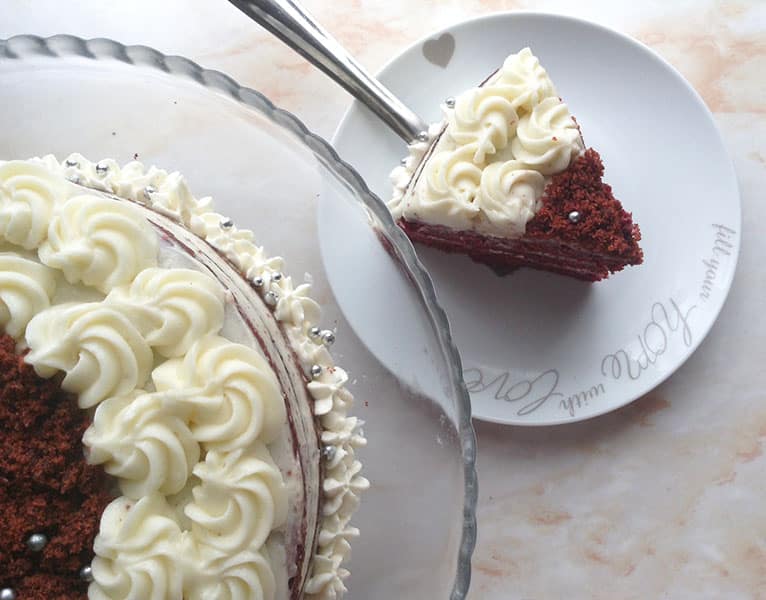
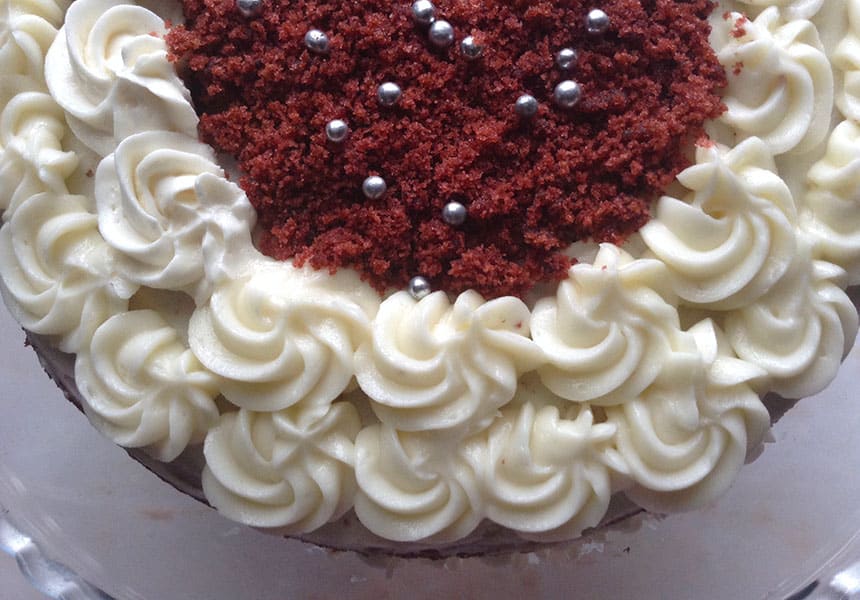
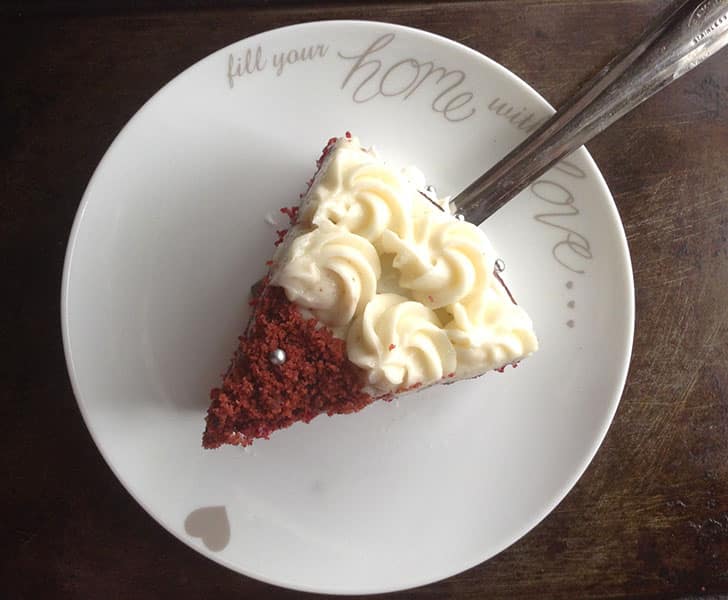
With the softest texture and delicate tender crumb, this is an easy recipe to fall in love with. Topped with a piped buttercream frosting is the crowning glory on this cake.

Besides the great texture and taste, this cake is strikingly beautiful with its red colour and contrasting white frosting.
One thing for sure, it really makes a stunning celebration cake which requires basic ingredients and a few important tips to create perfection always :
Some of the Ingredients in this cake include
Buttermilk
Baking soda/bicarb
Vinegar
These ingredients are the all-important stuff in this cake which creates that signature airy, fluffy texture found in red velvet cake.
When the baking soda reacts with the buttermilk and vinegar it bubbles up and aerates the batter giving it that beautiful silky look. The vinegar is just there to help in the aeration and there is no taste of it at all in this cake...I promise.
Never ever overmix
I cannot emphasise this enough. Overmixing the batter is going to produce a dry rough sponge, and you really do not want that. Avoid overmixing the batter by keeping the following tips in mind :
CREAM THE BUTTER AND SUGAR WELL
About 5 minutes with an electric beater is perfect. The butter and sugar mixture should be pale before adding the rest of the ingredients. When the butter is well creamed, the wet and dry ingredients will combine much easier and faster in the butter mixture
COMBINE THE DRY INGREDIENTS SEPARATELY
Combine the dry ingredients separately in a bowl before adding to the wet ingredients. Doing this ensures that the mixing time is minimal when the dry and wet ingredients are beaten together.
ALTERNATE BETWEEN FLOUR AND BUTTERMILK
When adding the flour mixture and the buttermilk to the creamed butter and egg, alternate between the two. Fold in the flour mixture in 3 additions alternating with the buttermilk in 2 additions, starting and ending with the flour.
DO NOT OVERBAKE
Overbaking is going to cause the cake to dry out. Check the cake at 15 minutes and then at 18 minutes. As soon as a skewer or cake tester inserted comes out clean, remove the cake from the oven.
MAKING THE RED VELVET CAKE
Grease and line with parchment/baking paper three 9inch ( 23cm) round cake pans or two 9 inch (23cm) round cake tins.
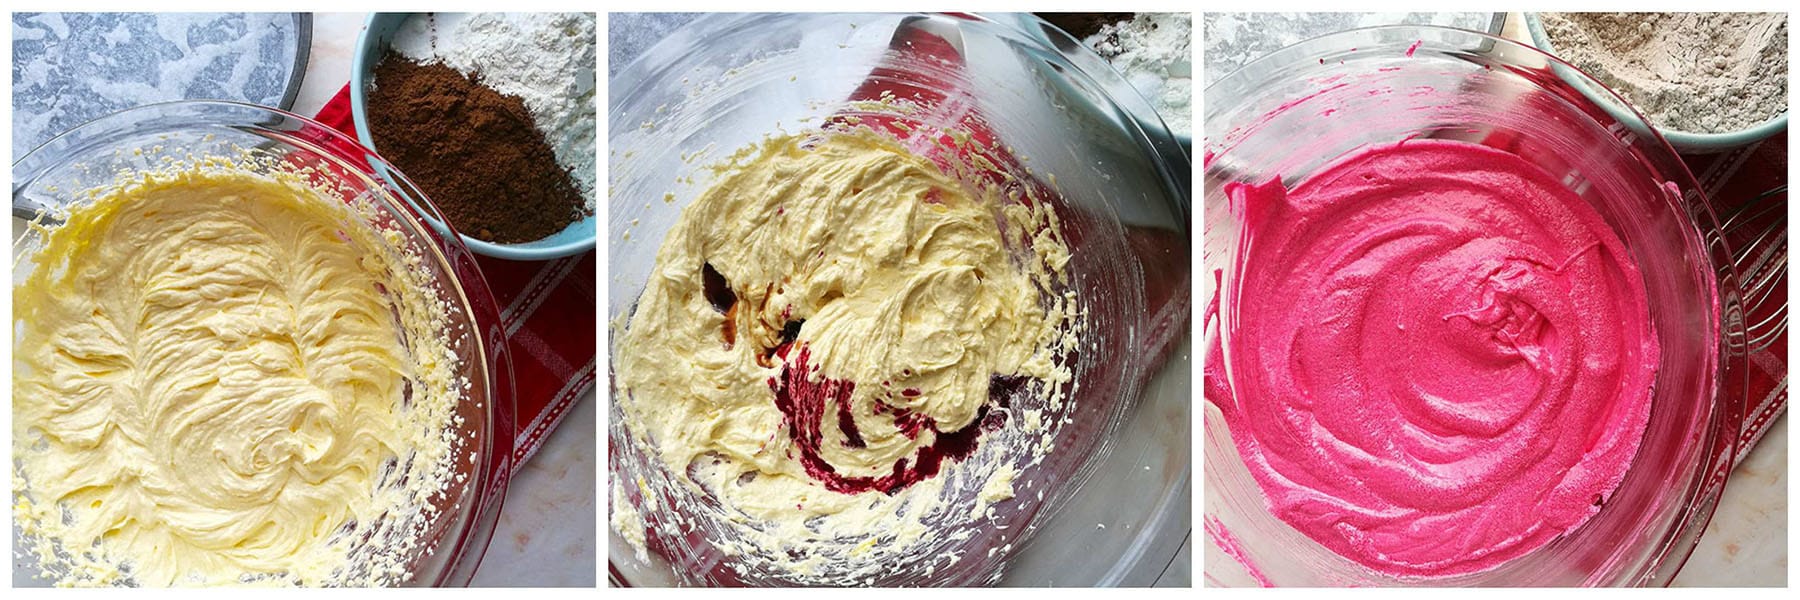
Start by sifting together the flour, baking soda ( bicarbonate of soda) cocoa powder and salt in a bowl and set aside.
In another large bowl, beat together the butter and sugar for 5 minutes until light and fluffy.
Beat in the eggs.
Add the vinegar, red food colouring and vanilla extract and beat well to combine.
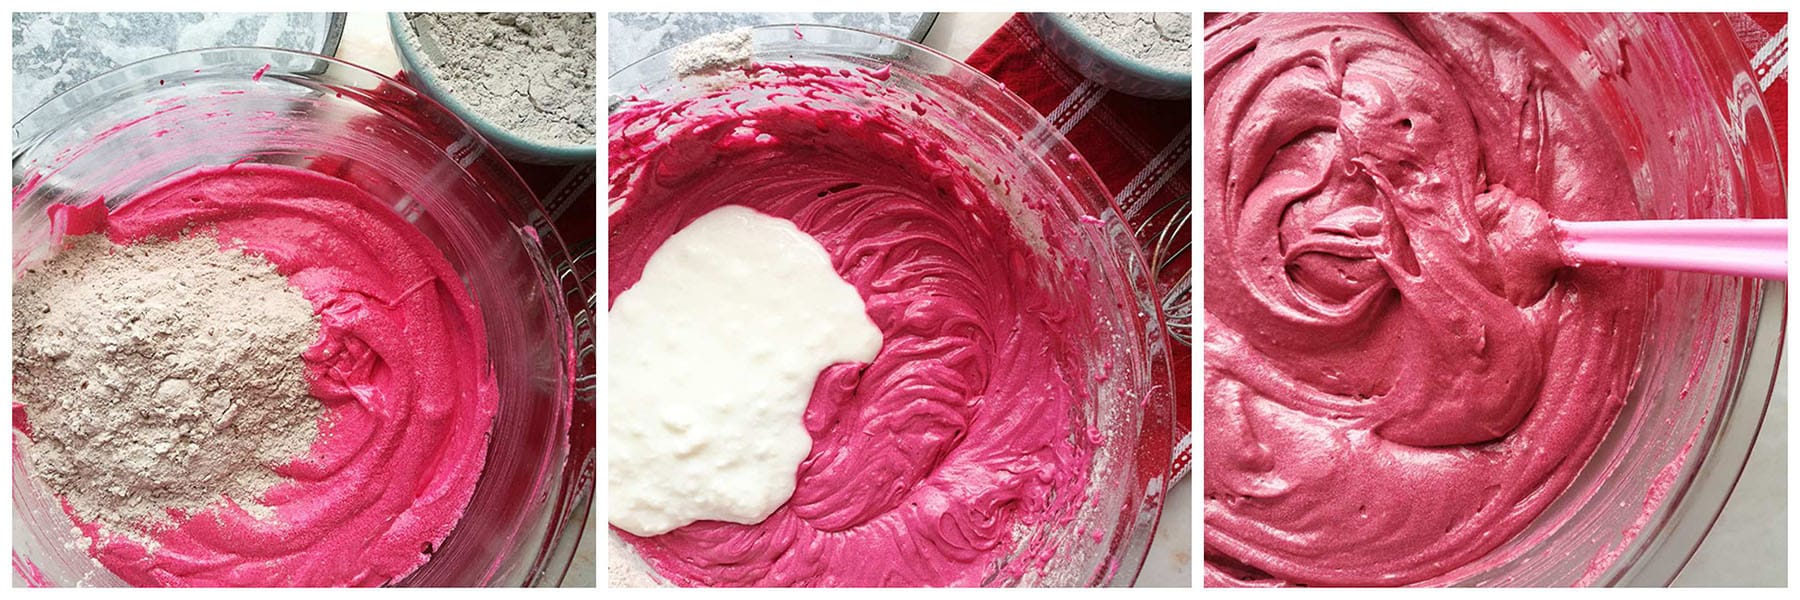
Fold in the flour mixture in 3 additions alternating with the buttermilk in 2 additions, starting and ending with the flour.
Divide the mixture evenly between the lined cake tins and bake in a preheated oven of 320°F / 160°C.
Bake for between 15 and 20 minutes or until a skewer inserted comes out clean.
Remove from the oven and leave in the cake pan allowing the cakes to cool completely.
Once cool, gently loosen the edges with a blunt-edged knife, and turn onto a plate and frost/ice as desired.
MAKING THE BUTTERCREAM
Beat the butter until pale. Add in the powdered sugar/icing sugar and vanilla extract and beat until smooth. Add in a little milk to create a softer, smoother frosting.
Either pipe or spread the frosting over the cooled cupcakes. Decorate as you prefer.
Enjoy ♥
If you like this recipe, be sure to check out my other amazing cake and dessert recipes
Still hungry for more?
Follow on Facebook, Pinterest and Instagram or Subscribe for the latest recipe updates
Red Velvet Cake
FOR THE CAKE
- 2 cups / 240g all purpose / cake flour
- 3 Tablespoons / 25g cocoa powder
- 1 teaspoon baking soda/bicarbonate of soda
- 1 teaspoon salt
- 1 cup/ 230g butter at room temperature
- 1 ¾ cups white granulated sugar
- 2 eggs
- 2 teaspoons vanilla extract
- 3 Tablespoons / 45ml red food colouring
- 1 teaspoon / 5 ml vinegar
- 1 cup / 250ml buttermilk
FOR THE VANILLA BUTTERCREAM
- ½ cup / 115g butter at room temperature
- 2 cups / 250g powdered / icing sugar
- 1 teaspoon vanilla extract
- 1 Tablespoon milk
TO MAKE THE CAKE
- Grease and line with parchment/baking paper three 9inch ( 23cm) round cake pans or two 9 inch (23cm) round cake tins.
- Start by sifting together the flour, baking soda ( bicarbonate of soda) cocoa powder and salt in a bowl and set aside.
- In another large bowl, beat together the butter and sugar for 5 minutes until light and fluffy. SEE NOTE 1
- Beat in the eggs.
- Add the vinegar, red food colouring and vanilla extract and beat well to combine.
- Fold in the flour mixture in 3 additions alternating with the buttermilk in 2 additions, starting and ending with the flour. Avoid overmixing which will cause the baked cake to have a rough dry texture.
- Divide the mixture evenly between the lined cake tins and bake in a preheated oven of 320°F / 160°C.
- Bake for between 15 and 20 minutes or until a skewer inserted comes out clean. SEE NOTE 2
- Remove from the oven and leave in the cake pan allowing the cakes to cool completely.
- Once cool, gently loosen the edges with a blunt-edged knife, and turn onto a plate and frost/ice as desired.
TO MAKE THE VANILLA BUTTERCREAM
- Beat the butter until pale. Add in the powdered sugar/icing sugar and vanilla extract and beat until smooth. Add in a little milk to create a softer, smoother frosting.
- Either pipe or spread the frosting over the cakes. Decorate as you prefer.


Kelly @ Kelly Lynns Sweets and Treats says
I love a classic red velvet cake! This cake looks so moist and perfect for any party! Have a great weekend 🙂
Kelsie | the itsy-bitsy kitchen says
This cake is so pretty, Ashika! I love how you piped the frosting on top, too. So delicate and perfect!
Laura says
So lovely, Ashika! We love Red Velvet cake in my house! I’ve only made it once, though! You’re inspiring me to make it again! I love the way you piped your frosting, too! Would be perfect for Valentine’s Day!
Katherine | Love In My Oven says
Clasically beautiful, Ashika! It looks so moist too!
Maria | kitchenathoskins says
So dang beautiful !! The cake looks so moist and the perfect swirls of the frosting looks absolutely amazing. It has to be the ultimate Valentines day dessert.
Ronak Mehta says
Wow. It looks delicious. I love red velvet cakes. So, I will try to make it. Your recipe will help me. Thanks for sharing.