Making Italian butter cookies without a cookie press or piping is super easy. Using just 6 basic ingredients, my recipe for these classic bakery style cookies are absolutely melt in your mouth deliciousness.
Cut the dough with a cookie cutter into shapes, either festive or plain. Top with a cherry before baking or dip in chocolate and sprinkles after baking. Soft, rich and buttery, this simple recipe makes the perfect any day, any occasion bake.

Easy cookie cutter Italian Butter cookies
While Italian butter cookies are traditionally made using a cookie press or piping bag, you can easily make them without.
Using Cookie cutters is a great alternative to pastry bags or a cookie press. Plus, you to get to enjoy the same delicious flavour and texture of traditional Italian butter cookies.
Try an assortment of shapes to suit the occasion. Festive stars and trees are perfect for Christmas or simple plain cutouts, to enjoy with your coffee.

Tips
Cream the butter and sugar well

- Cream the butter and sugar well for at least 5 to 8 minutes.
- An electric handheld or stand bowl mixer is helpful to aid in the creaming process.
- The creamed butter and sugar should be pale white and fluffy in texture. The result will be lighter cookies as opposed to a dense heavy batch of cookies.
Chill the dough before shaping with cookie cutter
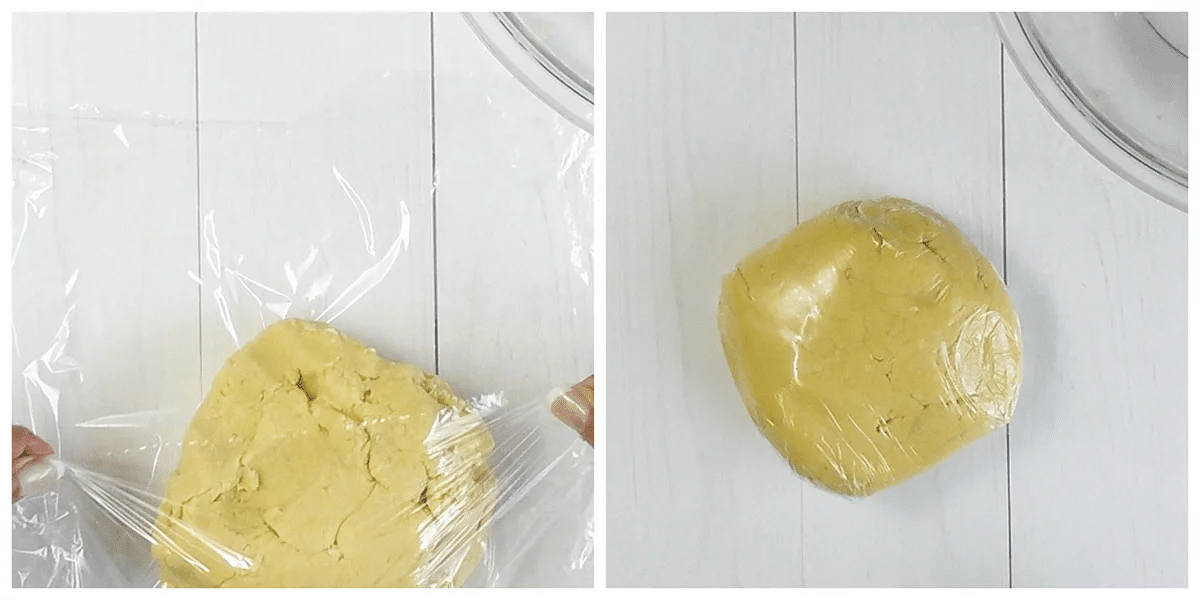
- Wrap the dough in plastic/cling wrap and place it in the refrigerator for at least 40 minutes before cutting into shapes.
- Cookies made from chilled dough are so much more flavorful too.
- As the dough chills, it gradually dries out, concentrating the flavors of all the ingredients.
- This results in cookies with a nice even bake and golden brown color.
- Chilling cookie dough in the fridge before baking allows the butter to re-solidify after it has softened during beating.
- The butter then slowly melts when baked, keeping the shape of the cookies
Roll the dough out evenly
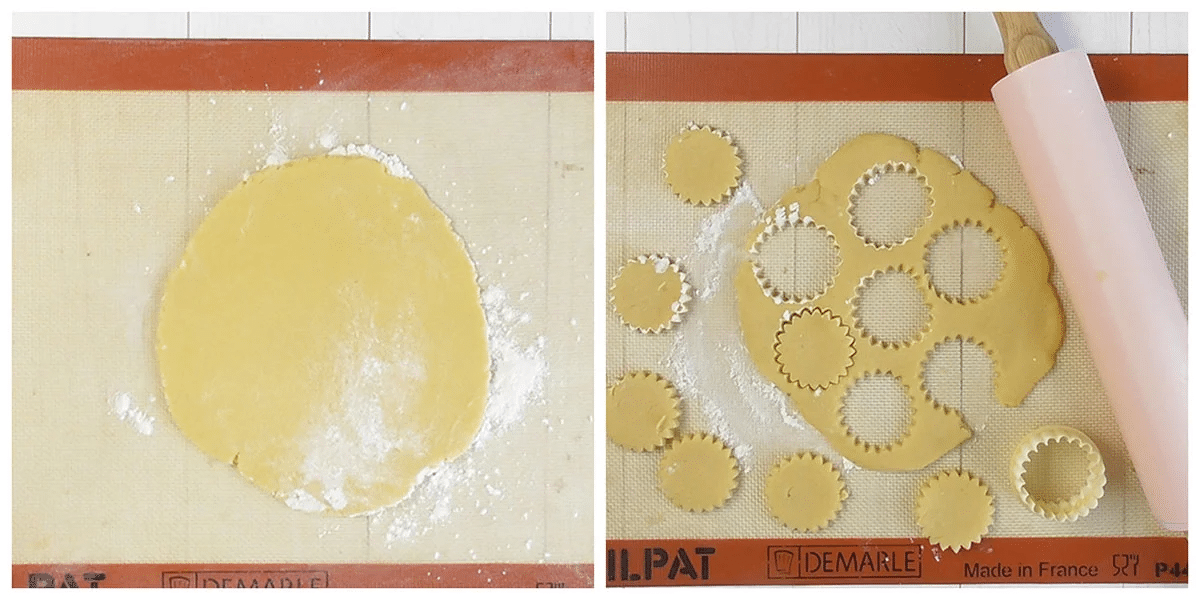
- For the cookies to bake evenly, the dough needs to be rolled out evenly.
- To make it easier, divide the dough in 4 before rolling. Smaller portions make rolling out the dough much easier.
- If you find that the dough is sticking to your rolling pin, then roll the chilled dough between 2 sheets of wax or baking/ parchment paper.
- This ensures that the dough does not stick to the rolling pin. It also eliminates the need for dusting more flour as you roll out the dough.
- Dip the cookie cutters in flour with each cut.
- Work from the center of the rolled-out dough to the edges, cutting shapes close to one another to prevent extra scraps and extra re-rolling.
- Whichever type of cookie cutter you choose, flour it and then set it on the rolled-out dough.
Line your baking sheet with baking /parchment paper
- It might be tempting to skip lining your baking sheet with baking/parchment paper, but it can sometimes affect the texture of your baked cookies.
- Lining with parchment paper keeps the cookies off the direct heat of the baking sheet, which reduces the amount of spreading and avoids the cookies sticking to the tray
- It allows the base of the cookies to bake to a perfectly light and golden colour and avoids over-browning
Transfer cut dough to the lined baking sheet
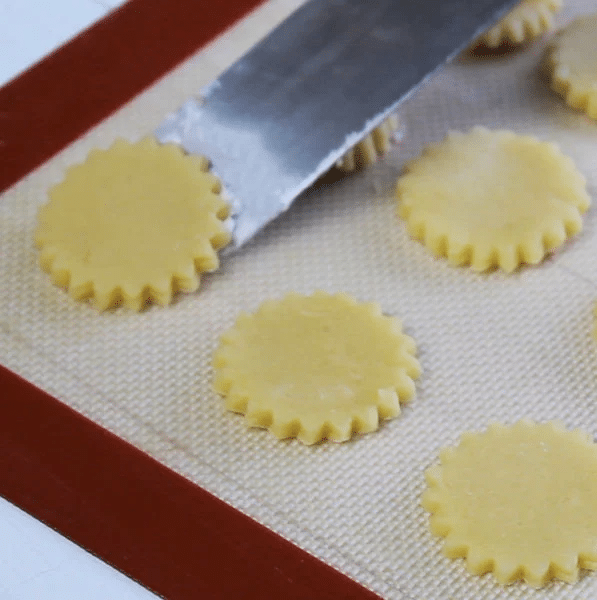
- The dough is soft, so lifting the cut out shapes with your fingers can distort or damage the cookies.
- Avoid this by sliding a floured spatula under the cutout shape and gently place it onto the lined baking sheet.
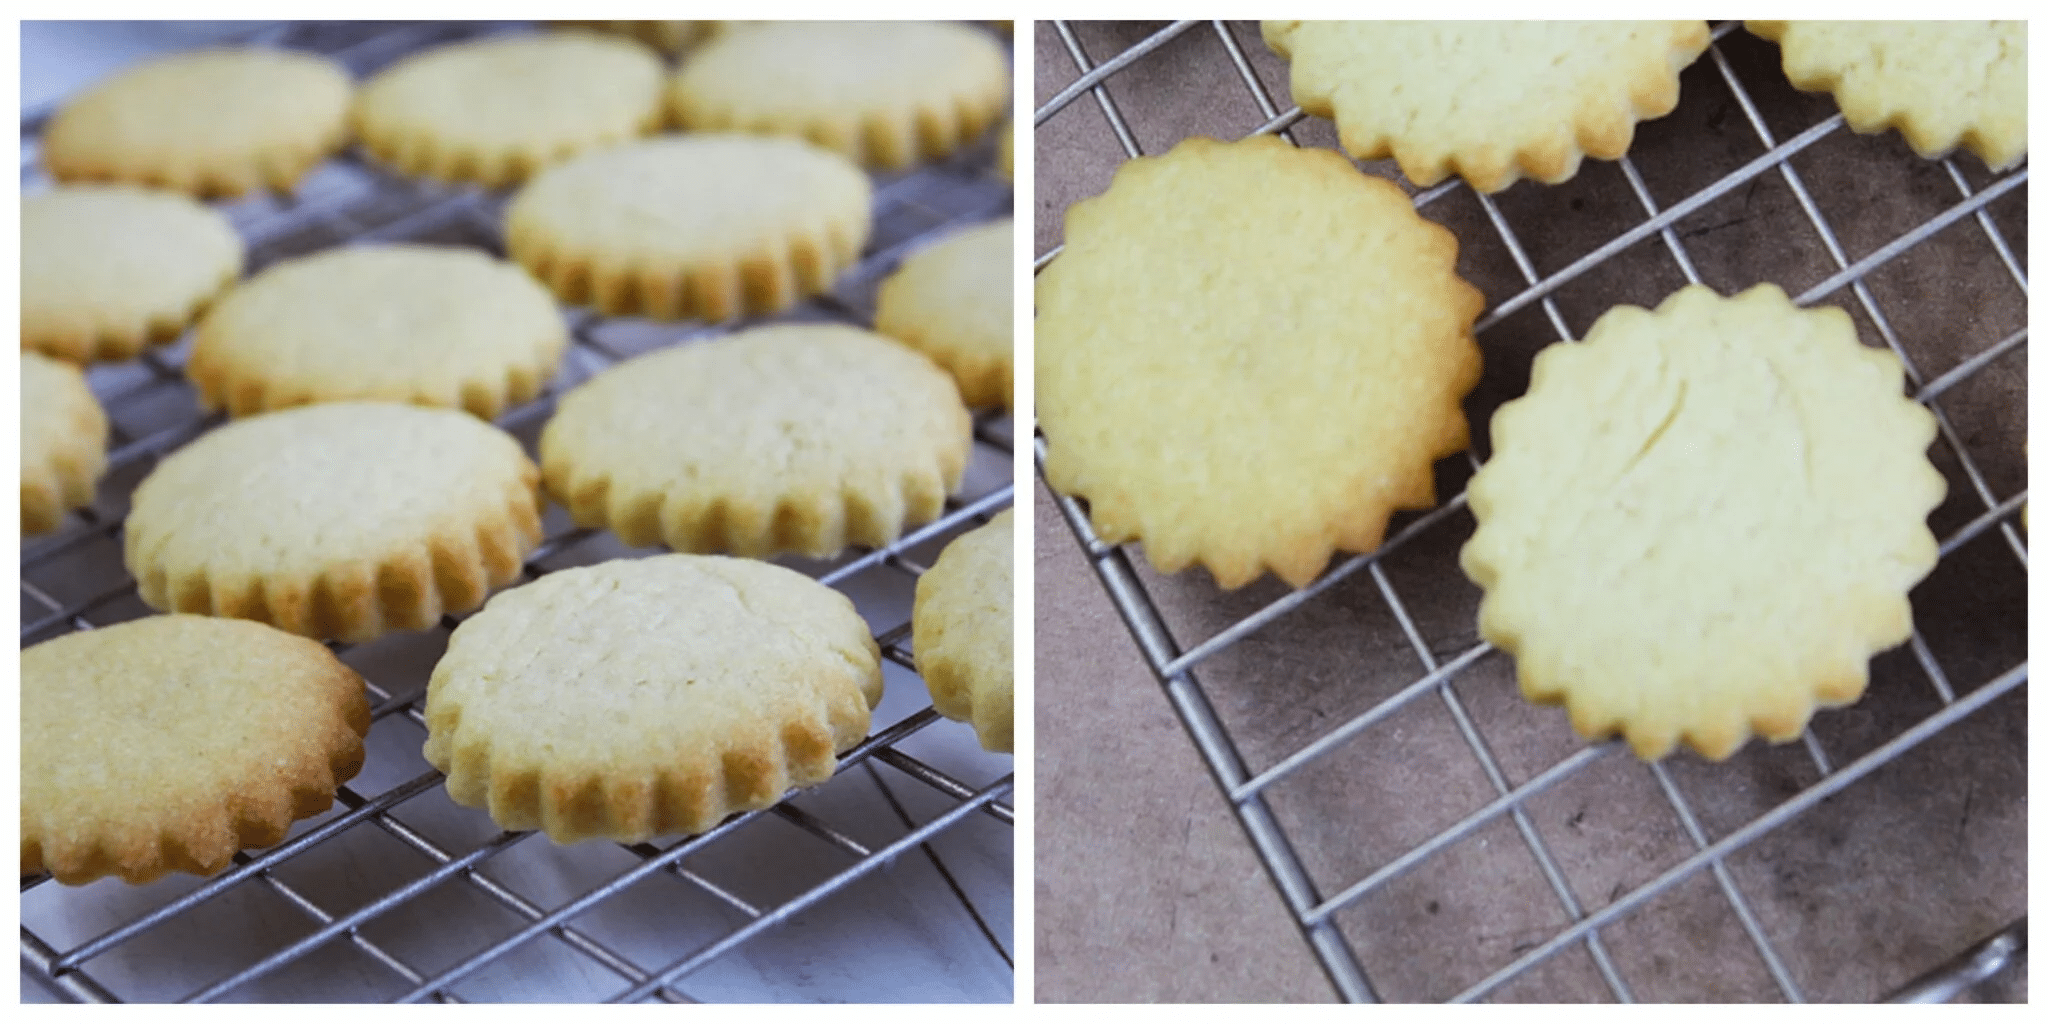
Bake to perfection
- Use the baking time given in the recipe only as a guide. This is because all ovens are different.
- The cookies are baked when the edges are set and lightly browned. The top centers can look and feel soft when removing from the oven
- Keep in mind that cookies continue to cook for a couple minutes as they cool on the baking sheet. They will crisp as they cool. For a crispier cookie, bake the batch a few minutes little longer until the centers appear set.
- Leave the baked cookies on the baking sheet for 10 minutes before them transferring to a cooling rack.

Decorating suggestions
- Dust with sifted powdered sugar after baking
- Top with candied cherries before baking
- Dip the cooled baked cookies in melted chocolate and sprinkles.
- Sandwich the cookies with jam after baking.
Storage
Store the baked cookies at room temperature in an airtight container for up to 1 week.

Enjoy ♥
Recipe
Italian Butter Cookies
- 1 cup butter softened
- ½ cup granulated sugar
- 1 large egg room temperature
- 1 teaspoon vanilla extract
- 2 cups all-purpose or cake flour
- 1 ½ teaspoon baking powder
- ¼ teaspoon salt optional see note 1
- Beat the butter and sugar: In a large bowl, beat the butter on medium speed for 3 minutes until light and creamy. Add sugar and beat for another 2 minutes.
- Add the egg and vanilla extract and beat for 1 minute to combine
- Sift in the dry ingredients: Sift the flour, baking powder and salt (if using) into the mixture.
- Form a soft dough: Combine to form a soft dough. Add an additional 2 Tablespoons flour if you feel that the dough is too soft to handle.
- Wrap dough in plastic wrap: Wrap the dough tightly in plastic wrap (cling wrap) and refrigerate for 30 minutes.
- Divide the dough in 4 portions. see note 2
- Roll out the dough: Roll out the dough on a floured surface. When rolled out, the dough should be about ⅛ inch (4mm) thick. See note 3
- Preheat the oven: Preheat the oven to 350°F/180°C (160°C fan).
- Line a baking sheet with parchment/baking paper. See note 4
- Cut/Shape the dough: Dip the cookie cutter in flour. Work from the center of the rolled-out dough to the edges, cutting shapes close to one another to prevent extra scraps and extra re-rolling.
- Transfer the dough to the lined baking sheet see note 5
- Bake the cookies for between 10 to 12 minutes see note 6
- The cookies are baked when the edges are set and lightly browned. The top centers can look and feel soft when removing from the oven. See note 7
- Remove from the oven and leave the cookies on the baking tray for 5 minutes. Then transfer to a wire rack to cool completely before decorating.
Decorating suggestions
- Dust with sifted powdered sugar after baking
- Top with candied cherries before baking
- Dip the cooled baked cookies in melted chocolate and sprinkles.
- Sandwich the cookies with jam after baking.
- Only add the salt if baking with unsalted butter.
- To make it easier, divide the dough in 4 before rolling. Smaller portions make rolling out the dough much easier.
- If you find that the dough is sticking to your rolling pin, then roll the chilled dough between 2 sheets of wax or baking/ parchment paper. This ensures that the dough does not stick to the rolling pin. It also eliminates the need for dusting more flour as you roll out the dough.
- It might be tempting to skip lining your baking sheet with baking/parchment paper, but it can sometimes affect the texture of your baked cookies. Lining with parchment paper keeps the cookies off the direct heat of the baking sheet, which reduces the amount of spreading and avoids the cookies sticking to the tray. It allows the base of the cookies to bake to a perfectly light and golden colour and avoids over-browning.
- The dough is soft, so lifting the cut-out shapes with your fingers can distort or damage the cookies. Avoid this by sliding a floured spatula under the cut-out shape and gently place it onto the lined baking sheet.
- Use the baking time given in the recipe only as a guide.
- Keep in mind that cookies continue to cook for a couple minutes as they cool on the baking sheet. They will crisp as they cool. For a crispier cookie, bake the batch a few minutes little longer until the centers appear set. But again, always keep in mind that cookies continue to cook for a couple minutes as they cool on the baking sheet. Leave the baked cookies on the baking sheet for 10 minutes before them transferring to a cooling rack.
If you like this recipe, be sure to check out my other amazing cookie and slice recipes
Still hungry for more?
Follow on Facebook, Pinterest, and Instagram or Subscribe for the latest recipe updates.


Wun Han Leong says
Hi, like to know how much 1cup flour in grams.
Some weighs 125, 130, 135 or 140gm
The Gardening Foodie says
Hi there,
1 cup of flour measures 125 grams.
Keep in mind that flour settles easily, becoming tightly packed inside a bag.
To ensure that your 1 cup flour measures approximately 125g avoid scooping up the tightly packed flour.
Stir the flour lightly with a whisk or fork to fluff and aerate it. Then use a spoon to fill up your cup with the aerated flour.
When weighed on a scale it should then read closest to 125g.
I hope this helps answer your question 🙂