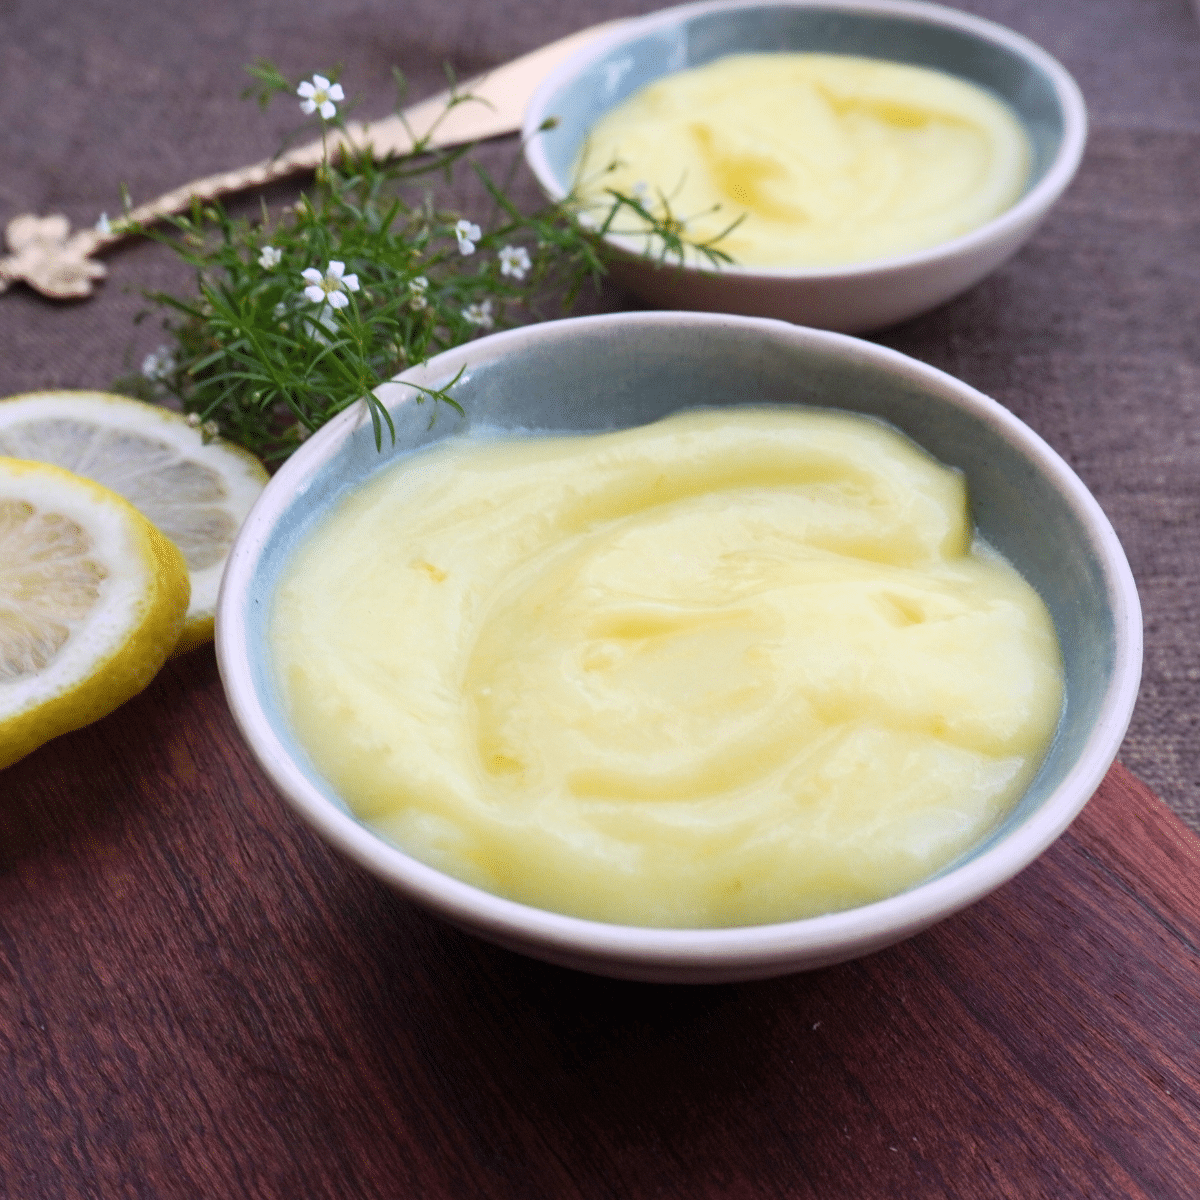
This incredibly simple recipe for Eggless Lemon Curd is tangy, sweet and, decadently creamy, making it far superior (and much cheaper) than what you'd find in stores. You need five ingredients, which cook on the stove in just 10 minutes.
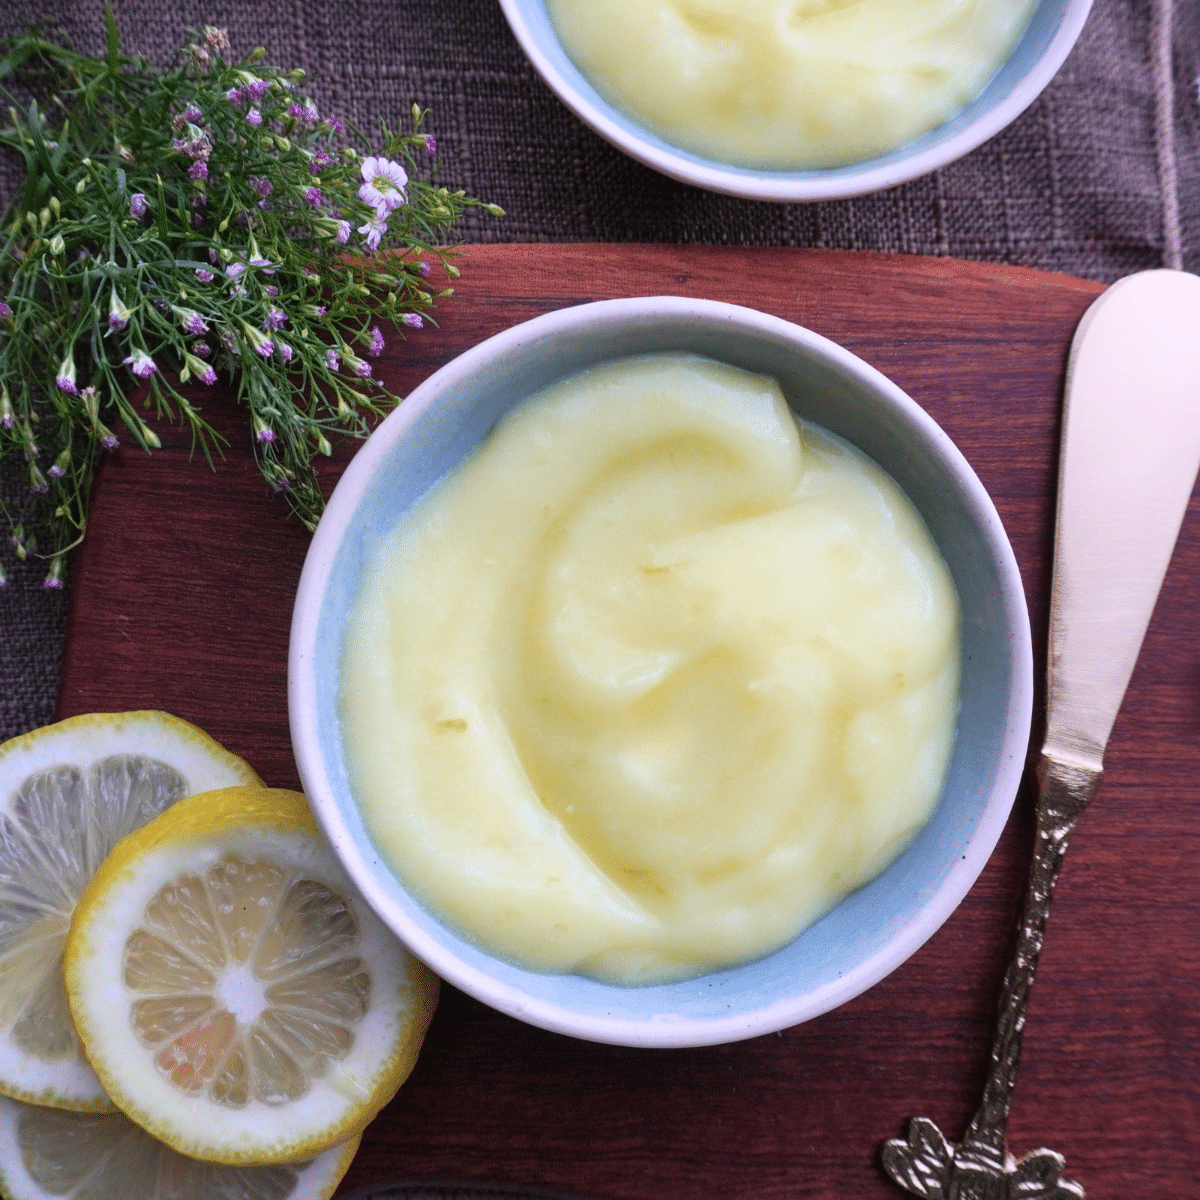
It's perfect spread on crepes, pancakes, scones, cakes and so much more. (Or you can just eat it by the spoonful 😋😁)
Visual instructions - step by step
The full printable recipe with amounts and instructions are at the end of this post.
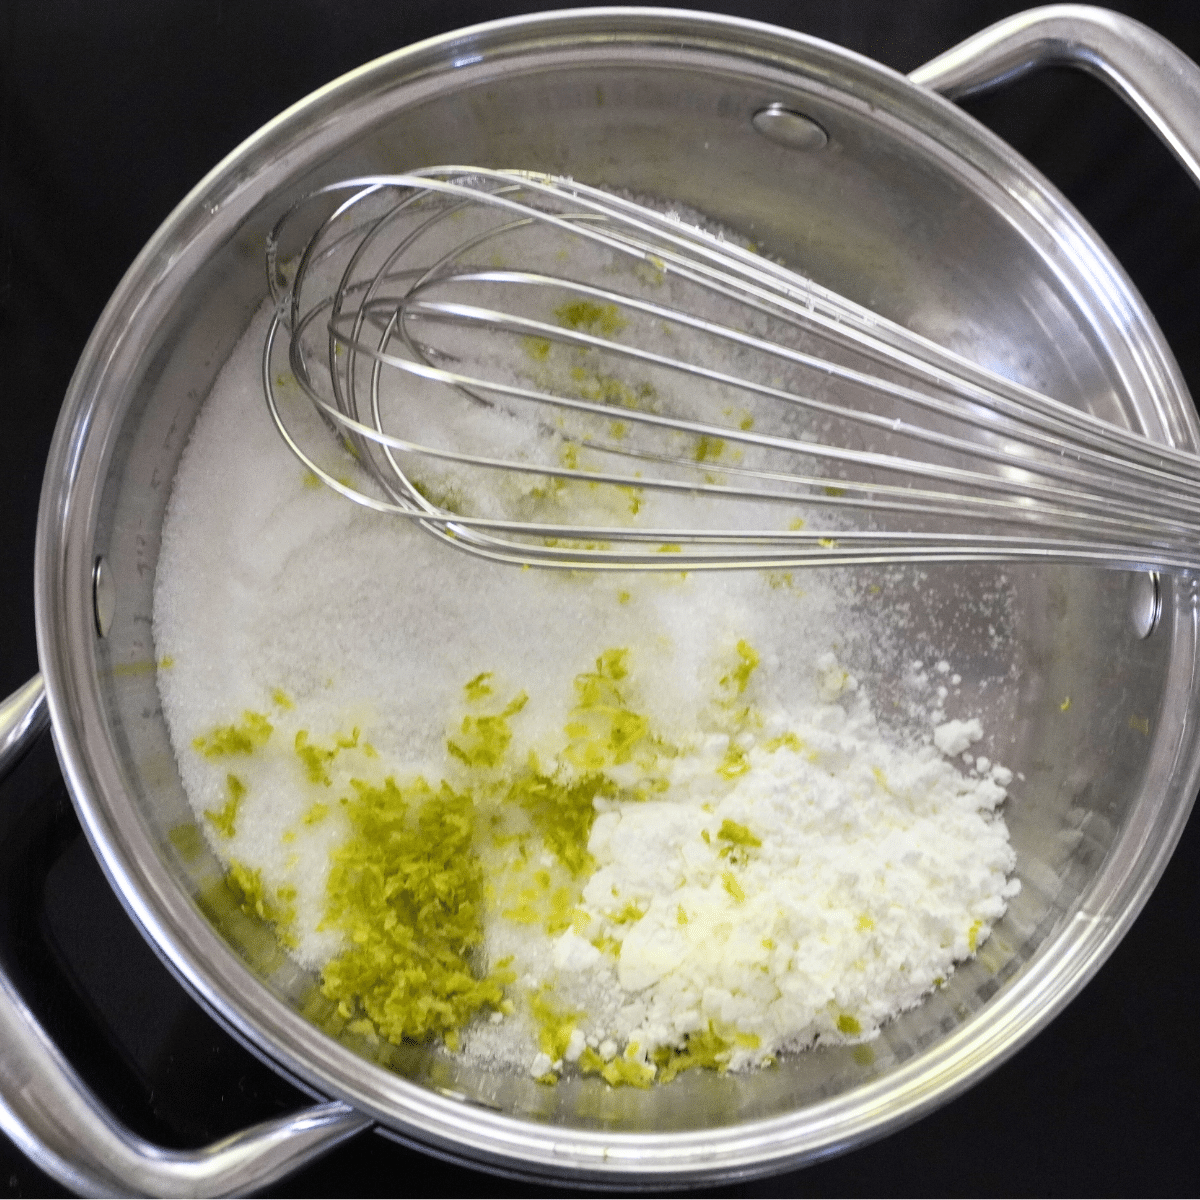
- Step 1: Combine white granulated sugar, cornstarch (cornflour) and lemon zest in a small saucepan
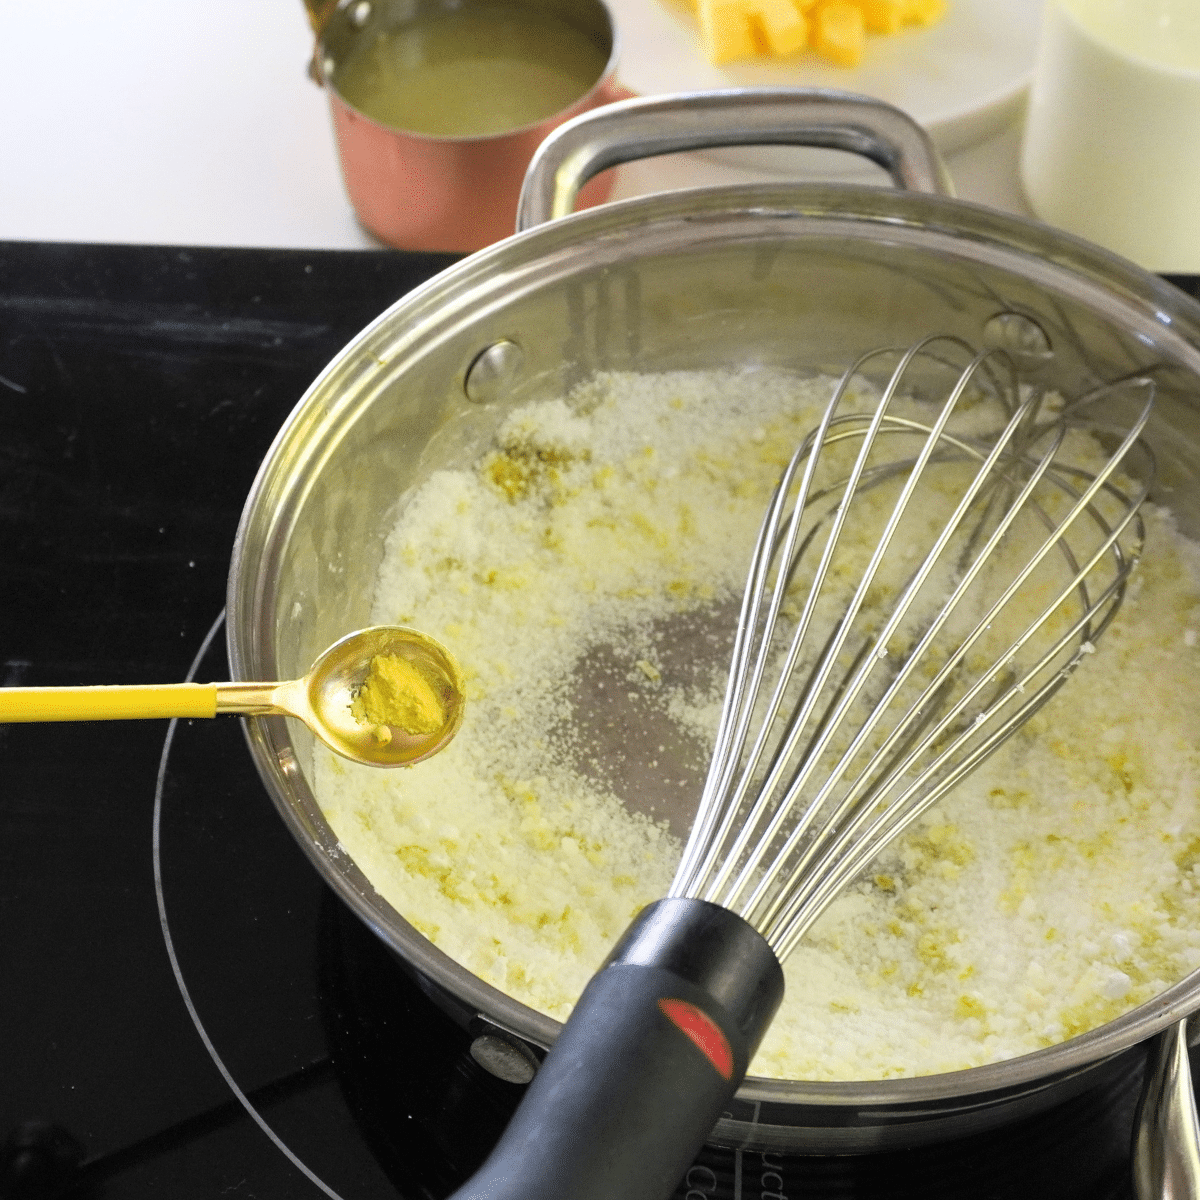
- Step 2: Add yellow food coloring or tumeric (just for color-this is optional)
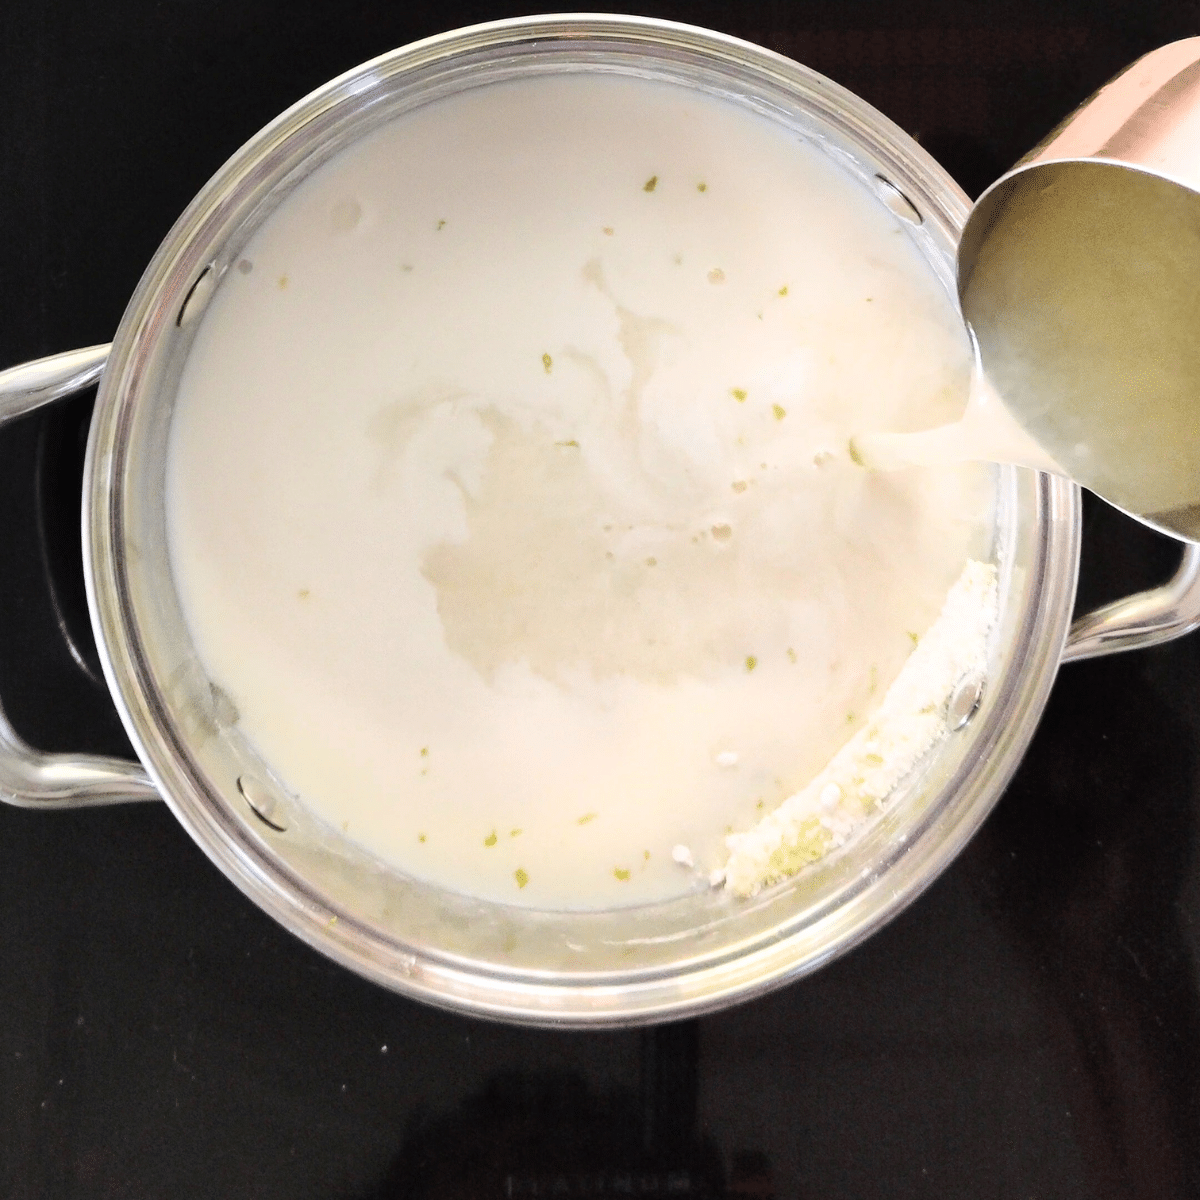
- Step 3: Pour in the milk and lemon juice
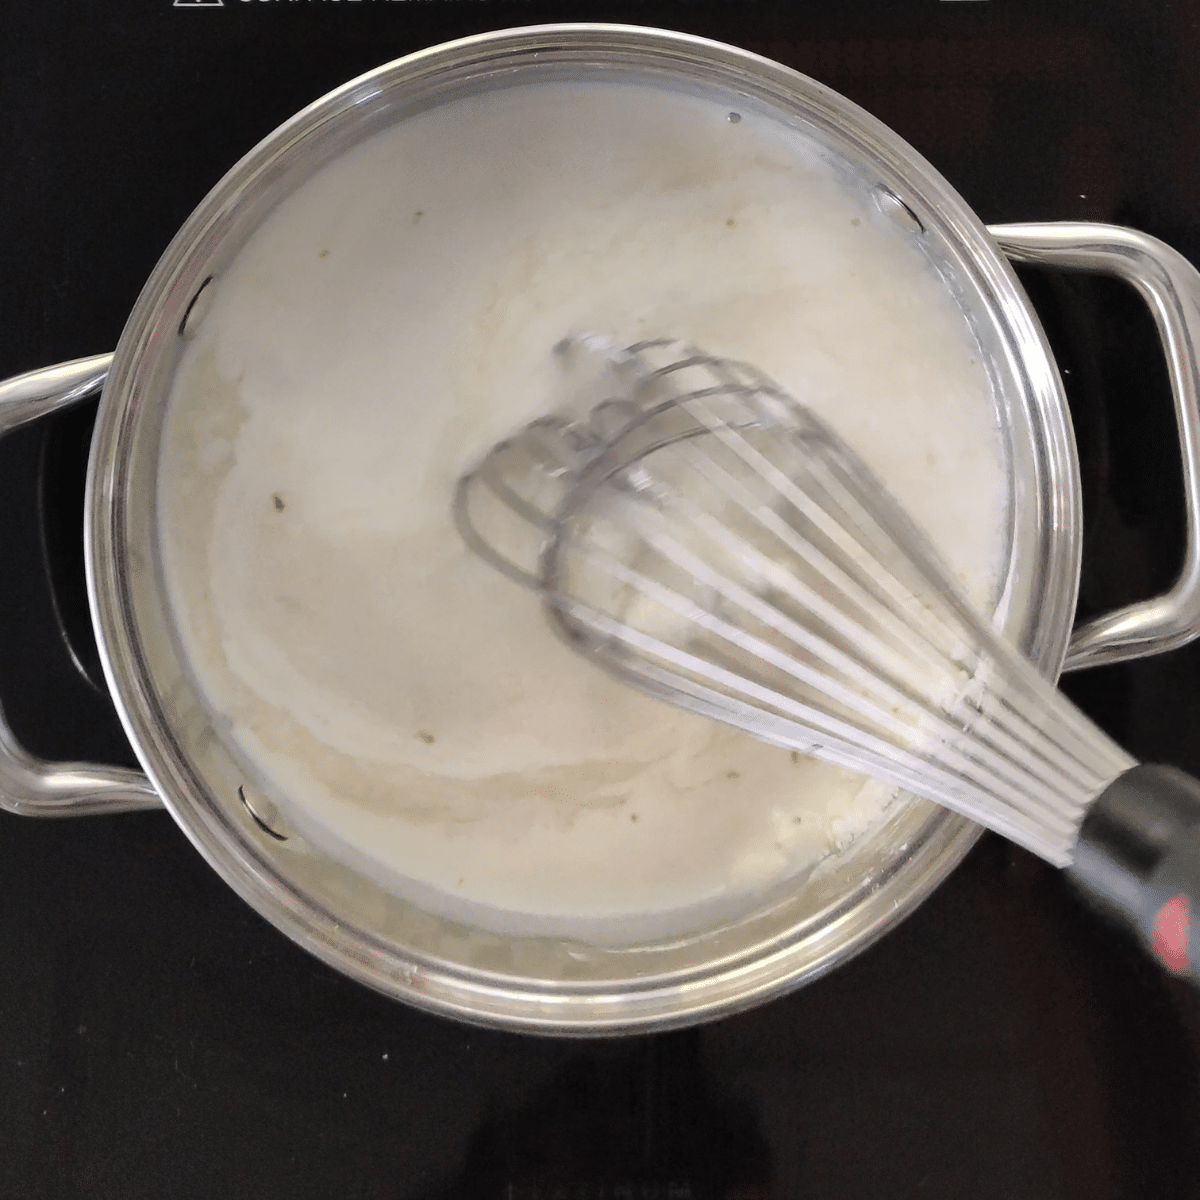
- Step 4: Turn the stove on to medium low heat. Whisk constantly until the mixture starts to bubble and thicken.
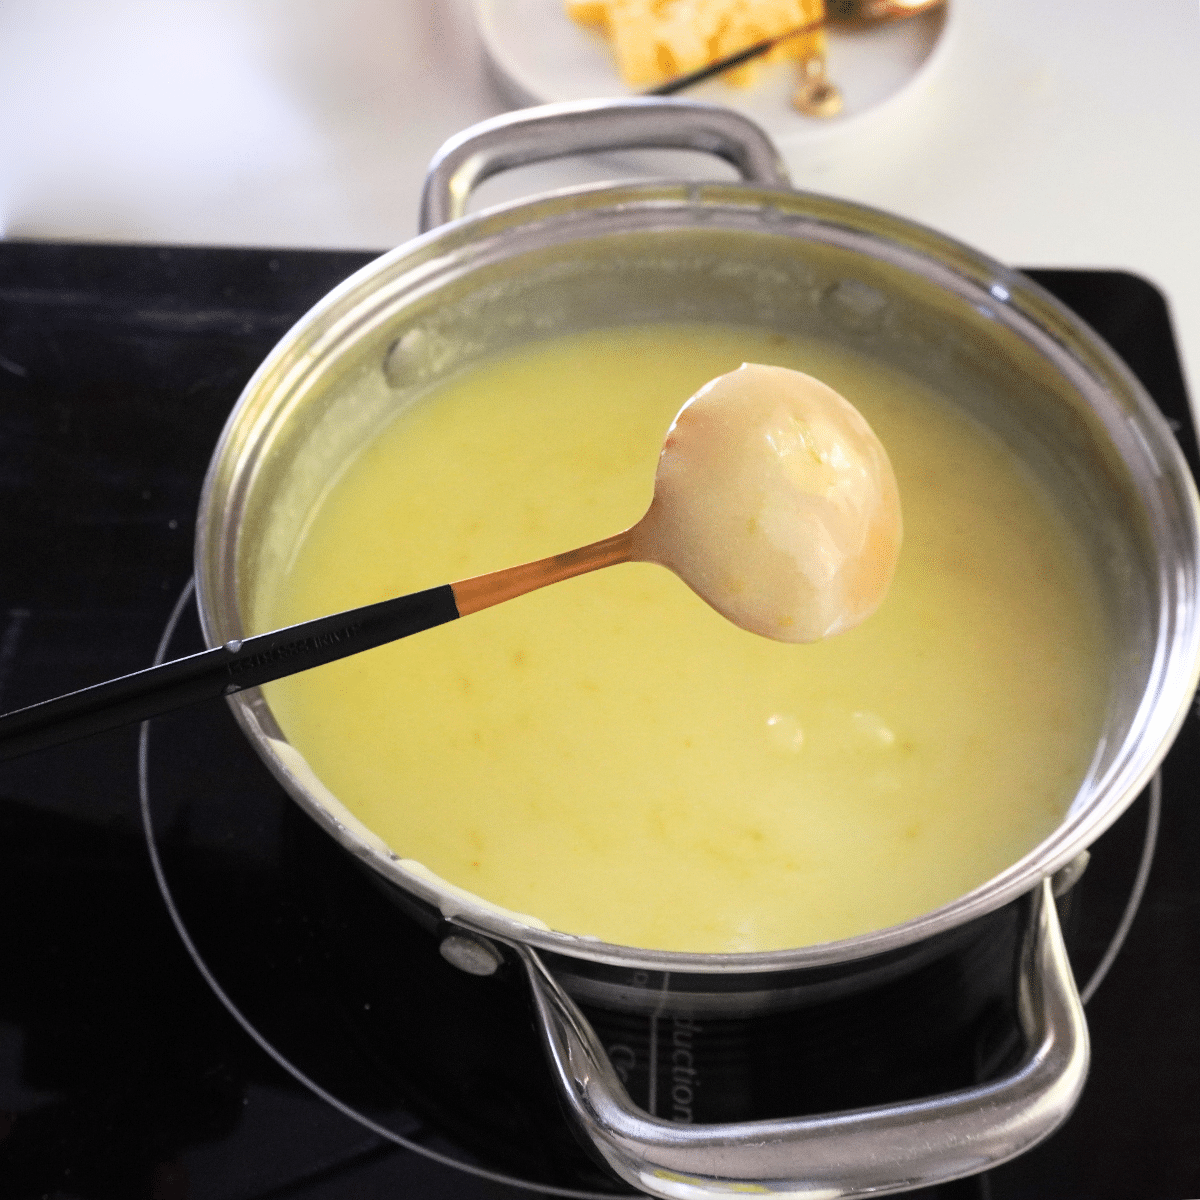
- Step 5: Within 6 to 8 minutes, the mixture should thicken sufficiently, and you'll know it's ready when it coats the back of a spoon.
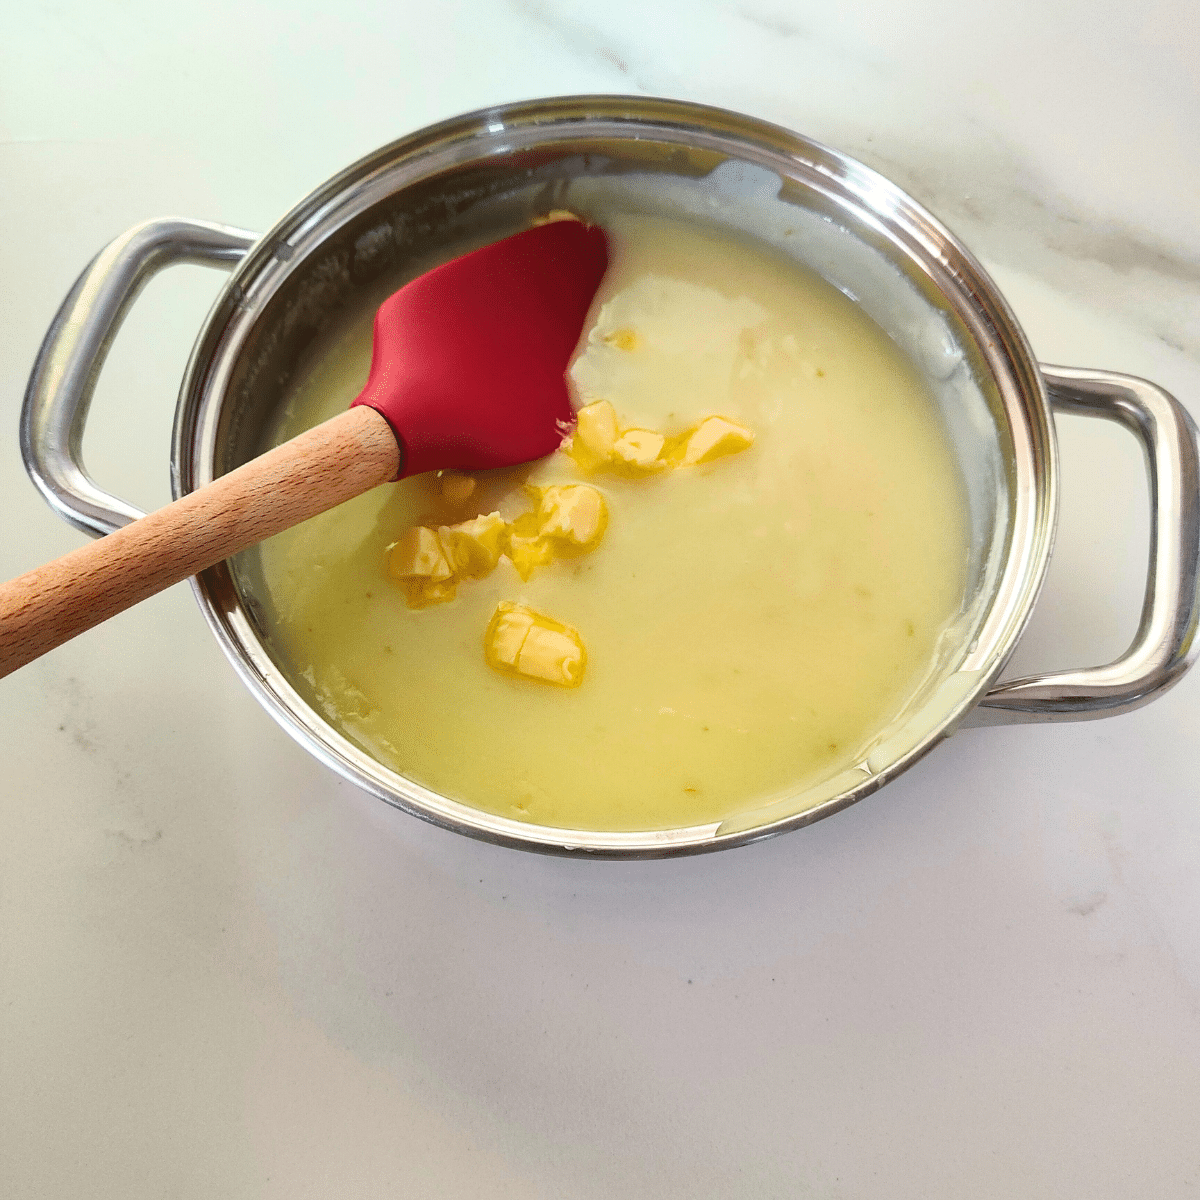
- Step 6: Remove the pot from the heat and stir in the butter until it has melted.
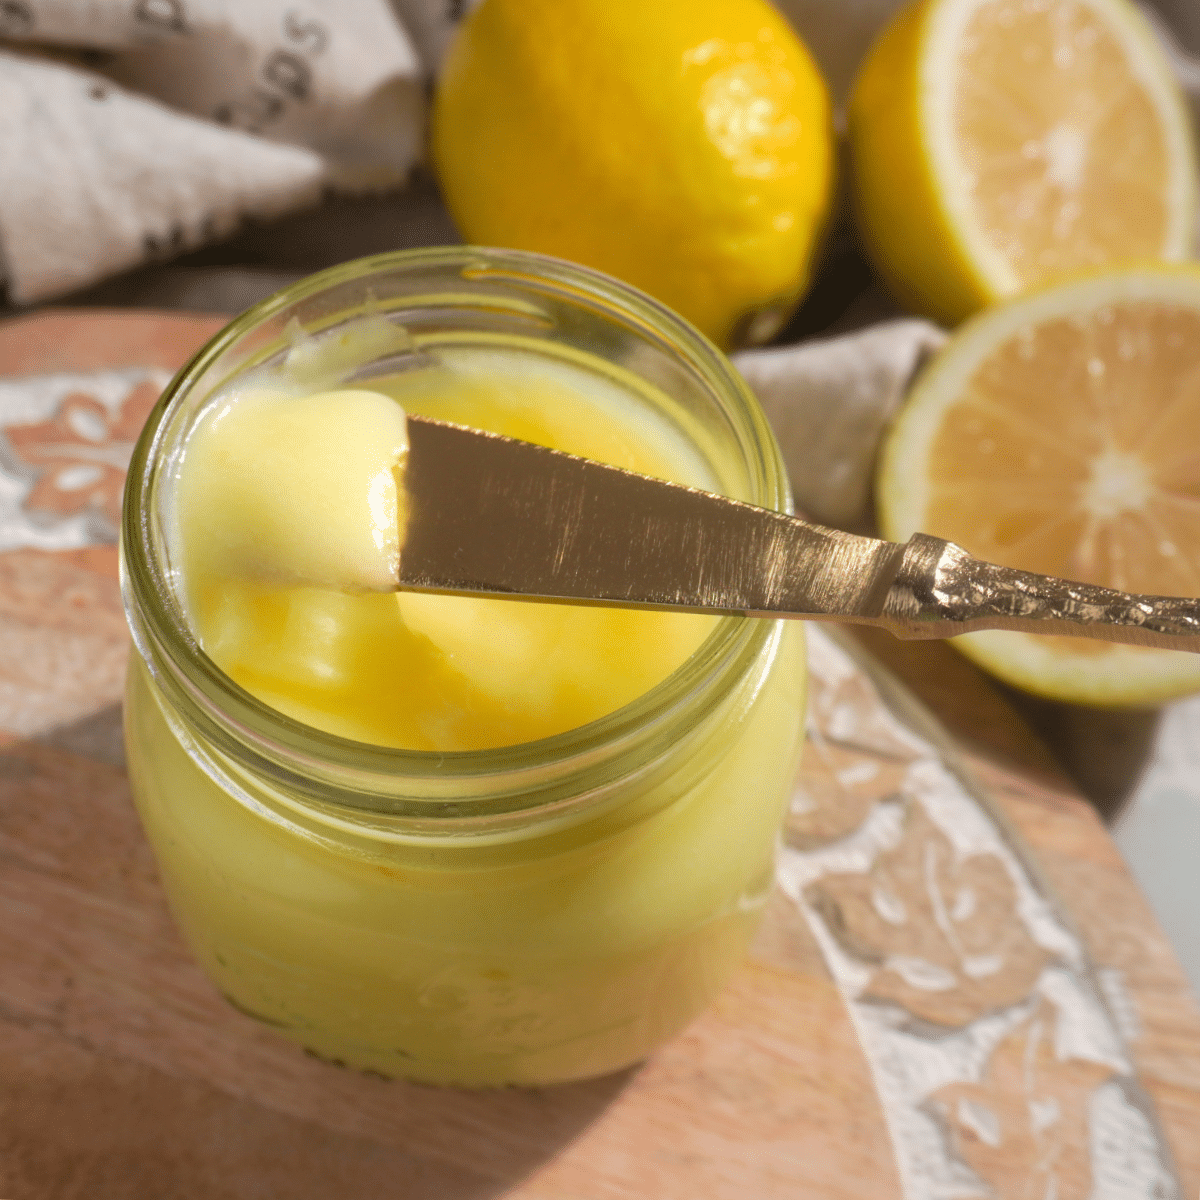
- Step 7: Allow it to cool for a few minutes before transferring it to the fridge, where the lemon curd will thicken further into a soft spreadable texture.
Storage
Refrigerate: In an airtight jar or container for up to 1 – 2 weeks.
Freeze: In an airtight freezer safe container for up to three months. Place in the refrigerator overnight to defrost / thaw before using.
Tips for making eggless lemon curd
Fresh Lemon Juice: Always use freshly squeezed lemon juice for the best flavor. Bottled lemon juice might lack the fresh, vibrant taste that fresh lemons provide.
Sugar: You can adjust the amount of sugar according to your taste preferences and the tartness of the lemons.
Cooking Time: Be patient when cooking the lemon curd. Although it takes about 6 to 8 minutes to thicken, it needs to be stirred constantly to prevent it from burning or sticking to the bottom of the pan.
Butter Temperature: Use butter that is at room temperature before mixing it into the warm lemon curd. This ensures an extremely velvety and an enhanced level of smoothness to your lemon curd. Plus, it also stabilises the tanginess a bit and gives you the most dreamy texture and flavor of the curd.
If you're using liquid food coloring: I used yellow powdered food coloring in this recipe. For liquid coloring, just dip a toothpick in and swirl it through the mix after adding milk and lemon juice. This allows you to adjust the color to your liking without adding too much at once.
Strain the Mixture (optional) : I skip the step of straining the lemon curd, but if you prefer a smoother texture without any pieces of lemon zest, you can strain it after cooking using a fine-mesh sieve. This will help eliminate any lumps or zest bits, resulting in a smoother consistency.
Whisk before using (optional): As your lemon curd cools down, whether it's left out or in the fridge, it might develop a lumpy texture. When you're ready to use it, just take out the amount you need and give it a quick whisk in a bowl until it's smooth again. This is particularly useful if you're planning to use it as a topping for cakes.
Enjoy 😋
Recipe
Eggless Lemon Curd
- ½ cup (100g) white granulated sugar
- 3 Tablespoons (20g) cornstarch (known as cornflour in the UK and Australia)
- 1 Tablespoon lemon zest
- Pinch of turmeric or powdered yellow food coloring optional (see notes if using liquid coloring)
- 1 cup (250ml) milk (can use dairy free milk as an alternative)
- ½ cup (125ml) freshly squeezed lemon juice (from roughly about 4 medium sized lemons)
- 2 Tablespoons (30g) salted butter, at room temperature (add a pinch of salt to the sugar if using unsalted butter)
- Combine sugar, cornstarch (cornflour) and lemon zest in a small saucepan.½ cup (100g) white granulated sugar, 3 Tablespoons (20g) cornstarch, 1 Tablespoon lemon zest
- Add yellow food coloring or tumeric (just for color-this is optional)Pinch of turmeric or powdered yellow food coloring
- Pour in the milk and lemon juice.1 cup (250ml) milk, ½ cup (125ml) freshly squeezed lemon juice
- Turn the stove on to medium low heat. Whisk constantly until the mixture starts to bubble and thicken.
- Within 6 to 8 minutes, the mixture should thicken sufficiently, and you'll know it's ready when it coats the back of a spoon.
- Remove the pot from the heat and stir in the butter until it has melted.2 Tablespoons (30g) salted butter, at room temperature
- Allow it to cool for a few minutes before transferring it to the fridge, where the lemon curd will thicken further into a soft spreadable texture.
Storage
- Refrigerate: In an airtight jar or container for up to 1 – 2 weeks.
- Freeze: In an airtight freezer safe container for up to three months. Place in the refrigerator overnight to defrost / thaw before using.
- Fresh Lemon Juice: Always use freshly squeezed lemon juice for the best flavor. Bottled lemon juice might lack the fresh, vibrant taste that fresh lemons provide.
- Sugar: You can adjust the amount of sugar according to your taste preferences and the tartness of the lemons.
- Cooking Time: Be patient when cooking the lemon curd. Although it takes about 6 to 8 minutes to thicken, it needs to be stirred constantly to prevent it from burning or sticking to the bottom of the pan.
- Butter Temperature: Use butter that is at room temperature before mixing it into the warm lemon curd. This ensures an extremely velvety and an enhanced level of smoothness to your lemon curd. Plus, it also stabilises the tanginess a bit and gives you the most dreamy texture and flavor of the curd.
- If you're using liquid food coloring: I used yellow powdered food coloring in this recipe. For liquid coloring, just dip a toothpick in and swirl it through the mix after adding milk and lemon juice. This allows you to adjust the color to your liking without adding too much at once.
- Strain the Mixture (optional) : I skip the step of straining the lemon curd, but if you prefer a smoother texture without any pieces of lemon zest, you can strain it after cooking using a fine-mesh sieve. This will help eliminate any lumps or zest bits, resulting in a smoother consistency.
- Whisk before using (optional): As your lemon curd cools down, whether it's left out or in the fridge, it might develop a lumpy texture. When you're ready to use it, just take out the amount you need and give it a quick whisk in a bowl until it's smooth again. This is particularly useful if you're planning to use it as a topping for cakes.
Want even more delicious recipes? Subscribe free to receive new post notifications emailed to you. Or follow along on Facebook, Pinterest, and Instagram. If you love sharing recipes please come and join my All about cooking and baking Facebook group or Subscribe to my YouTube channel


bere tm says
deliciosa, gracias para relleno de pastel de limon
The Gardening Foodie says
De nada horneada feliz 😊