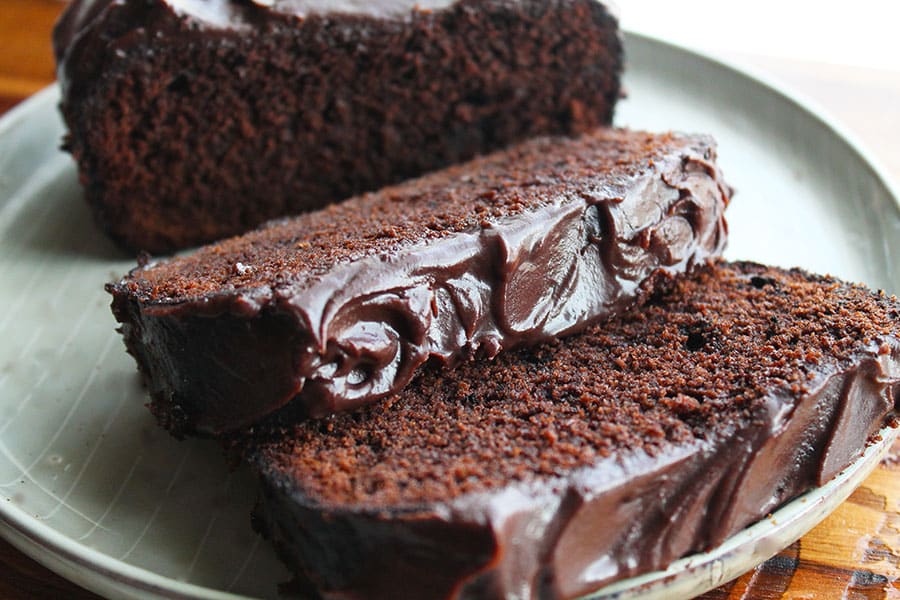
This Chocolate Sour Cream Cake is rich, decadent, and has amazing texture and flavor. Topped with silky chocolate frosting, guaranteed to satisfy your chocolate cravings! It is perfect for your any day treat or makes a beautiful celebration cake that's sure to impress.
The sour cream is the ingredient deserving of all the glory in this cake. Its high-fat content contributes to the moistness and richness of the cake preventing it from drying out.
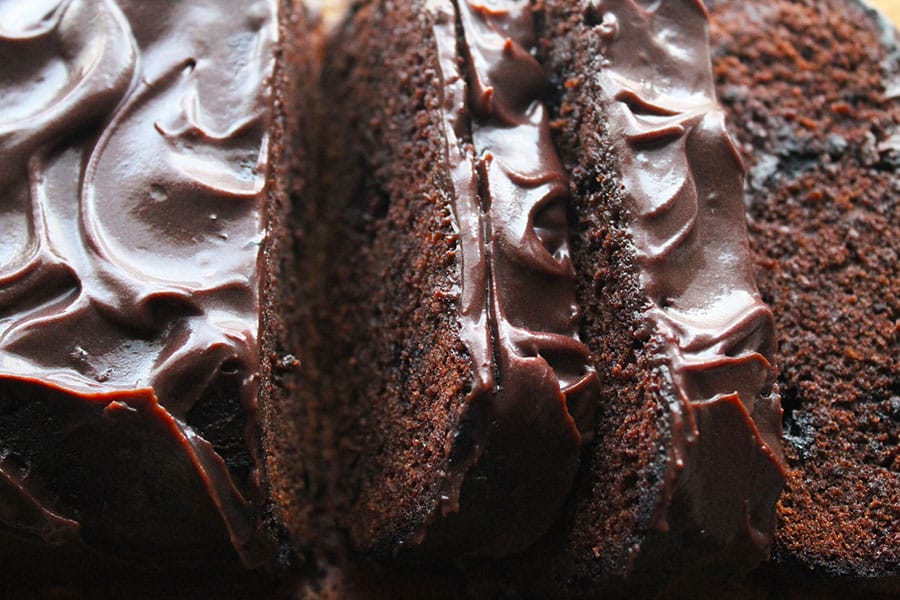
When mixed into the frosting, the sour cream creates a subtle tang whipping up to a lusciously silky texture.
If you are a collector of all chocolate bakes, be sure to add this to your stack. Baked as a sheet cake, loaf, single layer or cupcakes makes it versatile for any occasion.
Just a note on a few ingredients and substitutes if needed
While the full printable recipe is written below, this is the section to read if you’re wondering about ingredient substitutions or how these ingredients work in the recipe.
Butter: I like to use unsalted butter, but if you only have salted butter, use that and you can omit the salt. Don't worry about getting the butter to room temperature before baking this cake. Why? Because it's going to be used in a warm melted state for this recipe.
Chocolate: Use chocolate chips or a slab of chocolate chopped into small chunks. Dark or milk chocolate will work fine.
Sugar: For this recipe, I used both white and brown sugar. The molasses in the brown sugar adds to the flavor and contributes to the moist texture of the cake.
Eggs: The eggs used in this recipe adds moisture and helps to lighten and leaven the cake resulting in a light, aerated texture.
Sour cream: Since sour cream contains a high-fat content, it is going to add richness, moisture, and tenderness to the cake.
Milk: Helps to thin out the batter. Just 2 Tablespoons combined with the sour cream and eggs will contribute to the moist texture in this bake.
Flour: I always use cake flour for chocolate or vanilla cakes. It creates a softer, more tender texture. If you do not have any cake flour, go ahead and use all-purpose or plain flour. Make sure that it is measured out properly. Too much flour will result in a dry, crumbly textured bake.
Unsweetened cocoa powder
Baking powder, Baking soda, and salt
How to make Chocolate Sour Cream Cake
While the video and the full printable recipe are written below, this is the process with step-by-step pictures to guide you.
For the cake
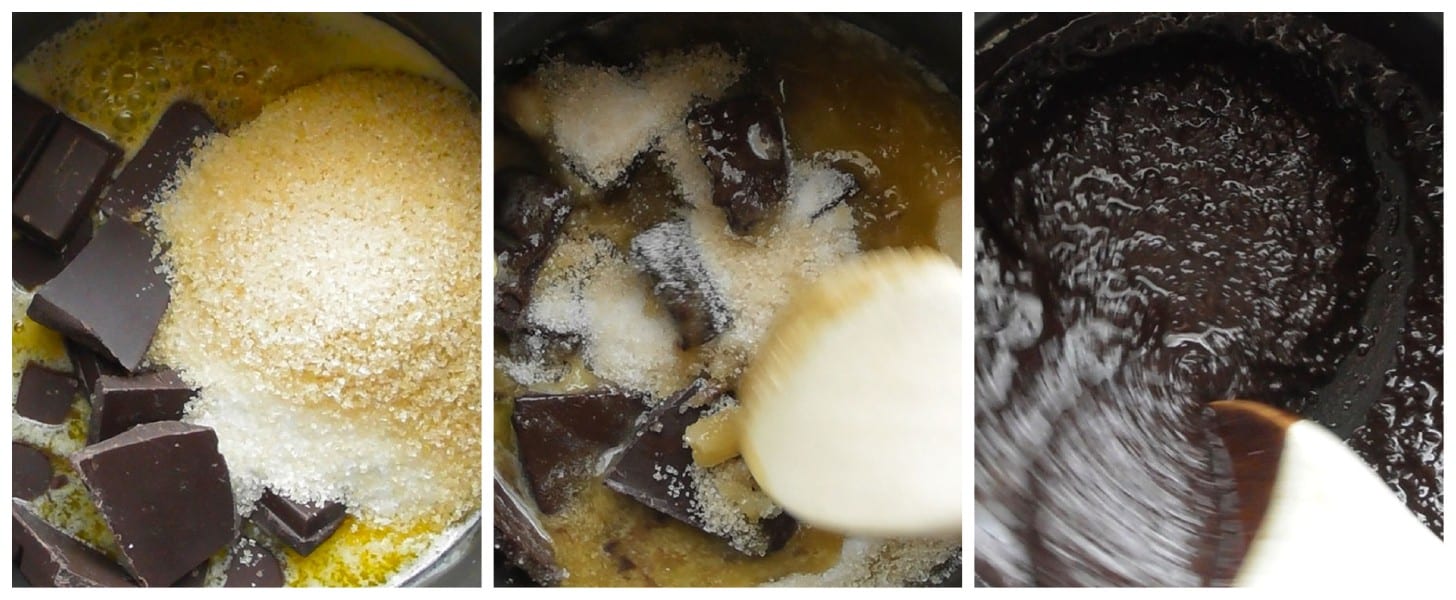
In a medium-sized pot:
- Place a medium-sized pot onto the stove and turn the heat on to a low medium.
- Add the butter, half of the chopped chocolate (½ cup/90g), the white and brown sugar.
- Stir continuously until the butter and chocolate are melted. Set aside and allow to cool.
In a measuring jug:
- Whisk the eggs vanilla extract, sour cream, and milk.
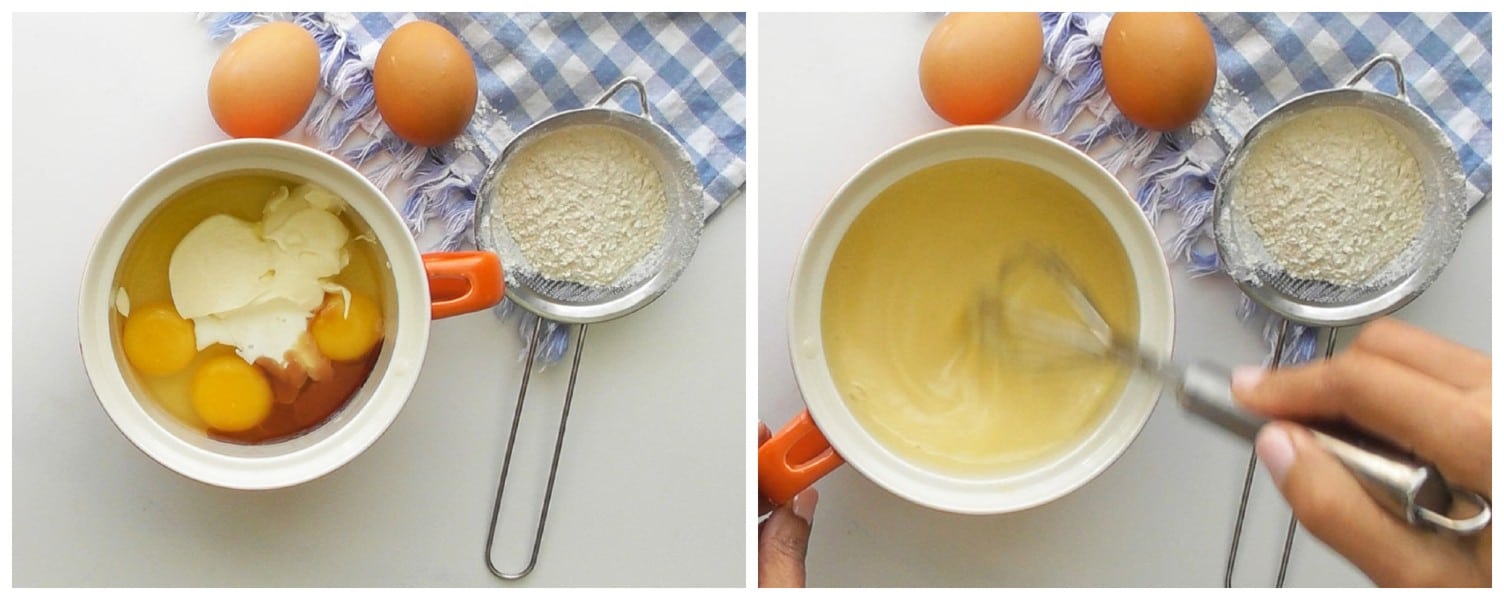
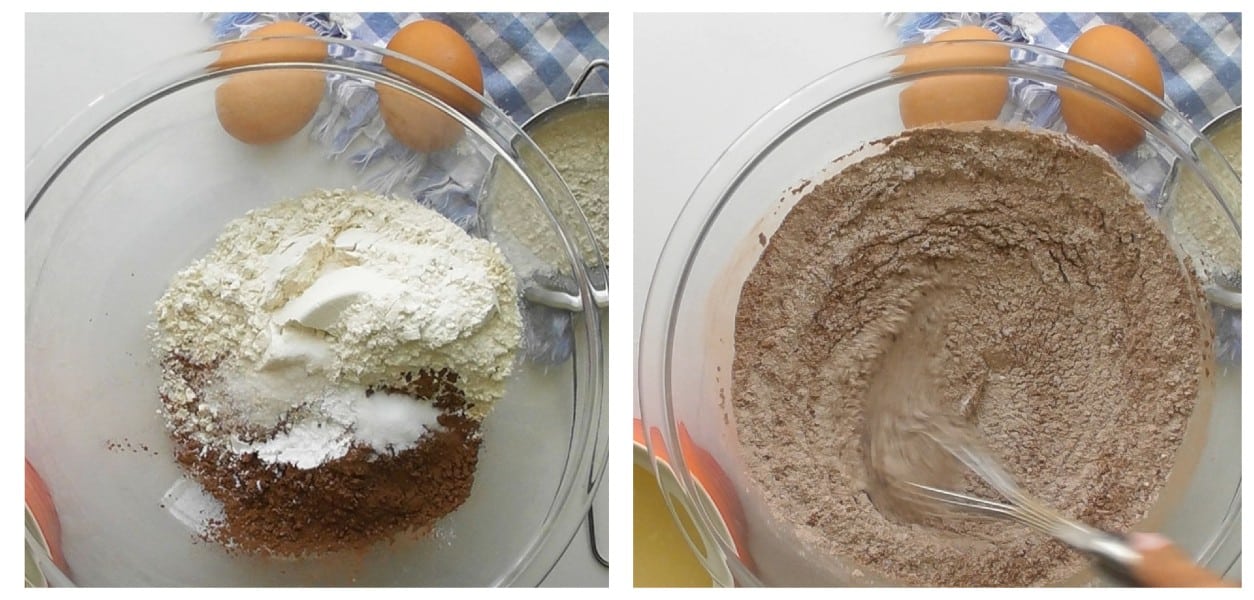
Sift the dry ingredients into a bowl
- Sift the flour, cocoa powder, baking powder, baking soda, and salt into a bowl.
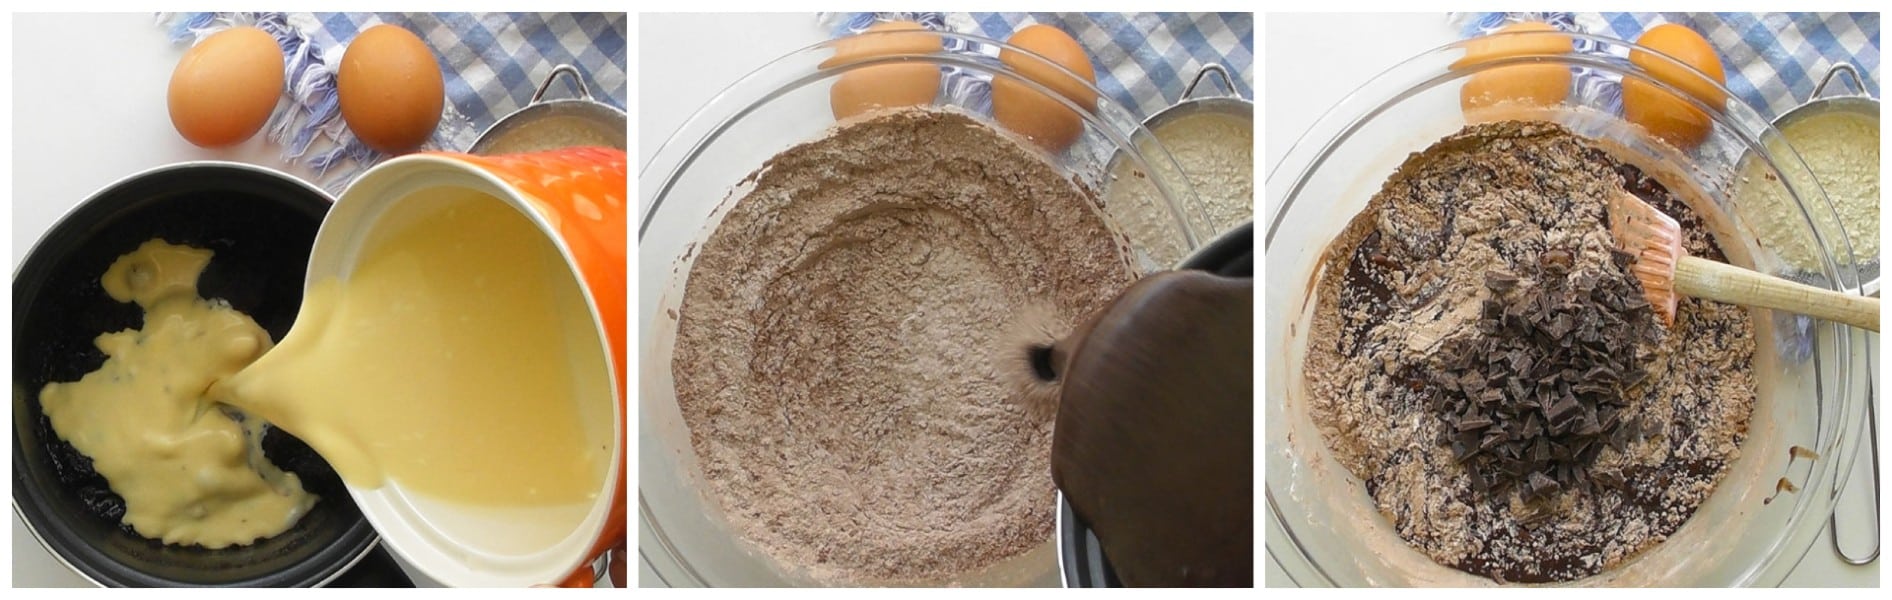
Combine all the ingredients:
- Whisk the ingredients from the measuring jug into the cooled mixture from the medium-sized pot.
- Then add the whisked ingredients into the sifted dry ingredients and mix gently until combined, forming a smooth batter.
- Stir the remaining half of the chopped chocolate into the batter.
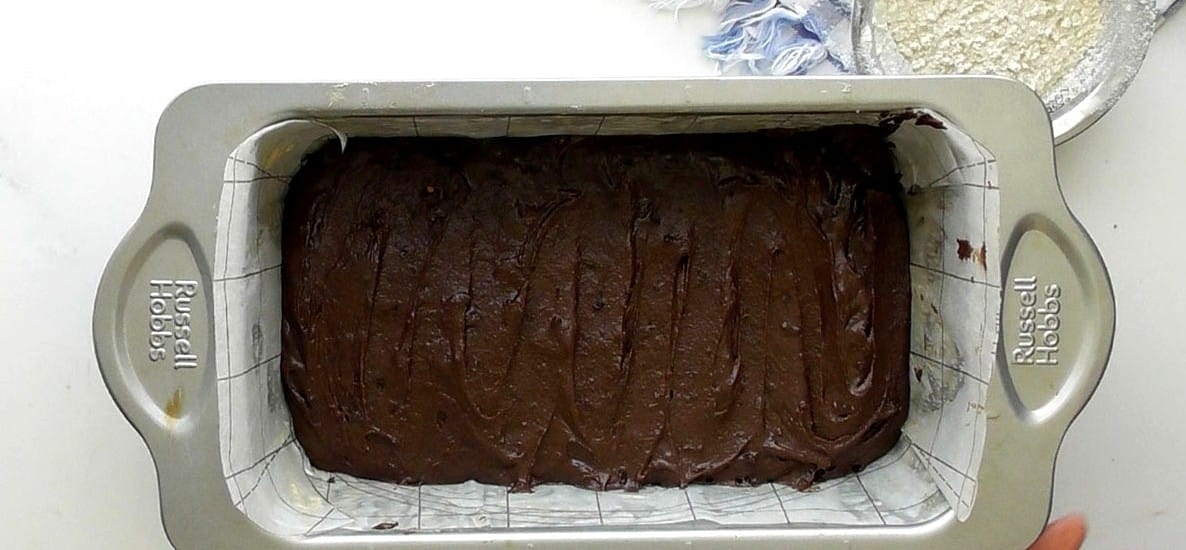
Bake:
Transfer the batter into the lined loaf tin and bake for between 35-40 minutes and until a skewer comes out clean.
For the topping:
The chocolate for the topping can either be melted in the microwave or on the stovetop:
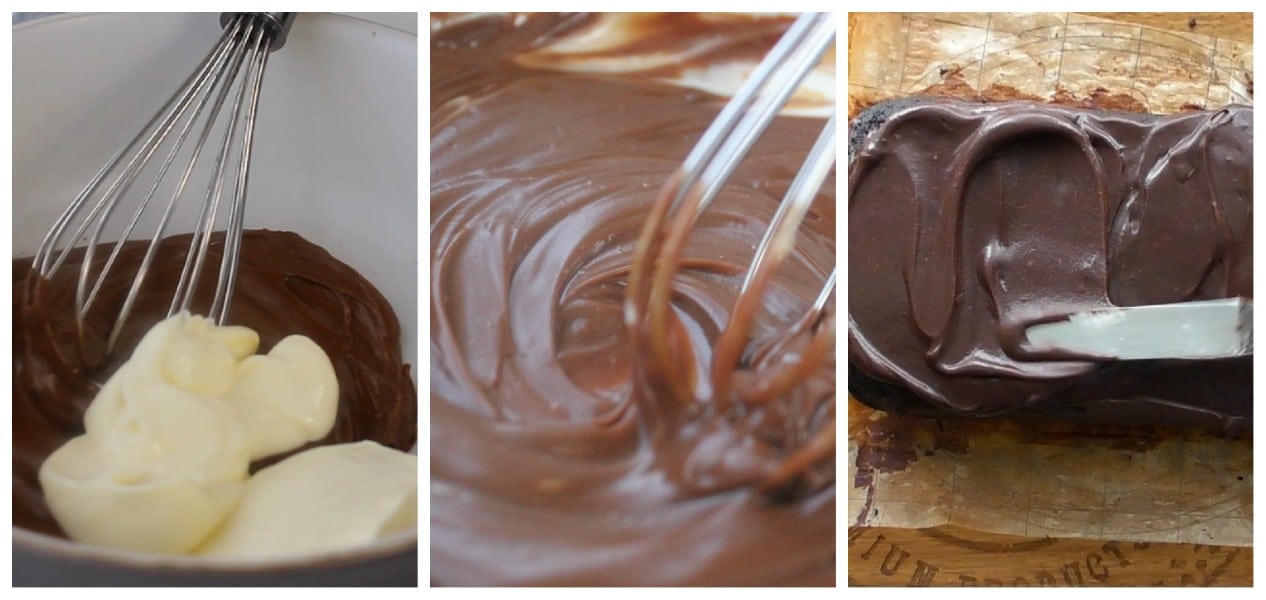
If you are melting the chocolate in the microwave: Melt the chocolate pieces in a dry bowl in the microwave. Check on it every minute, stirring with a dry spoon. Depending on the wattage of your microwave, it may take between 2 to 4 minutes for the chocolate to melt completely.
Add the sour cream and whisk until combined, smooth and glossy.
If you are melting the chocolate on the stovetop: Heat the chocolate and sour cream, in a heatproof bowl set over a pot of gently simmering water. Stir occasionally until the chocolate is melted. Whisk until combined, smooth and glossy.
Use a spatula or knife to spread the frosting over the cooled cake.
Tips and frequently asked questions
What causes the baked cake to become dense
Overmixing is going to create a densely textured cake
To avoid this, ensure that you mix all your ingredients at medium speed when using an electric mixer. If it is mixed on high or for too long, the cake batter loses the incorporated air and becomes dense.
Do not over-bake
Overbaking is going to create a dry crumbly baked cake. Bake just until a skewer inserted into the middle of the cake comes out clean.
Why is the melted chocolate dry and not spreadable?
This is most likely to happen when water or any moisture comes into contact with the melting chocolate. Referred to as chocolate seizing, when the melted chocolate becomes unspreadable and unusable.
Melting the chocolate properly is important so here are a few tips to ensure a silky smooth texture whether you choose to use your microwave or stovetop.
- Stir chocolate occasionally as it softens.
- Do not allow any water to come into contact with the chocolate: You don’t want to risk any water finding its way into your bowl of chocolate. It will cause it to seize so you want to avoid water touching it.
- Avoid adding any liquid, like flavoring extracts or colouring to your melted chocolate. This will have the same effect on the chocolate as adding water or moisture.
What is the shelf life of the baked cake?
At room temperature, this cake will last about 1 – 2 days stored in an airtight container
If you plan to keep the cake in the fridge to extend the shelf life make sure that you remove it from the fridge for 1 – 2 hours before serving. It will keep well in the fridge for up to 4 days.
Enjoy ♥
Chocolate Sour Cream Cake

Watch how to make the recipe
For the cake
In a pot
- ¾ cup butter see note 1
- 1 cup chocolate, chopped into small chunks and divided , see note 2
- ½ cup sugar see note 3
- ⅓ cup brown sugar
In a measuring jug
- 3 eggs
- 1 teaspoon vanilla extract
- 5 Tablespoons sour cream
- 2 Tablespoons milk
In a bowl
- 1 ¼ cup cake or all purpose flour see note 4
- ¼ cup unsweetened cocoa powder
- 1 teaspoon baking powder
- ½ teaspoon baking soda
- ½ teaspoon salt
Topping/Frosting
- ⅔ cup chopped chocolate
- 6 Tablespoons sour cream
For the cake
In a medium-sized pot:
- Place a medium-sized pot onto the stove and turn the heat on to a low medium.
- Add the butter, half of the chopped chocolate (½ cup/90g), the white and brown sugar.
- Stir continuously until the butter and chocolate are melted. Set aside and allow to cool.
In a measuring jug:
- Whisk the eggs vanilla extract, sour cream, and milk.
- Sift the dry ingredients into a bowl
- Sift the flour, cocoa powder, baking powder, baking soda, and salt into a bowl.
Combine all the ingredients:
- Whisk the ingredients from the measuring jug into the cooled mixture from the medium-sized pot.
- Then add the whisked ingredients into the sifted dry ingredients and mix gently until combined, forming a smooth batter.
- Stir the remaining half of the chopped chocolate (½ cup/90g),into the batter.
Bake:
- Preheat the oven to 350°F/180°C (160°C fan).
- Transfer the batter into the lined 8 x 5-inch (21 x 13 cm) loaf pan and bake for between 35-40 minutes and until a skewer comes out clean.
For the topping:
- The chocolate for the topping can either be melted in the microwave or on the stovetop:
- If you are melting the chocolate in the microwave: Melt the chocolate pieces in a dry bowl in the microwave. Check on it every minute, stirring with a dry spoon. Depending on the wattage of your microwave, it may take between 2 to 4 minutes for the chocolate to melt completely.
- Add the sour cream and whisk until combined, smooth and glossy.
- If you are melting the chocolate on the stovetop: Heat the chocolate and sour cream, in a heatproof bowl set over a pot of gently simmering water. Stir occasionally until the chocolate is melted. Whisk until combined, smooth and glossy.
- Use a spatula or knife to spread the frosting over the cooled cake.
- I prefer to use unsalted butter, but if you only have salted butter, use that and you can omit the salt. Don't worry about getting the butter to room temperature before baking this cake. Why? Because it's going to be used in a warm melted state for this recipe.
- Half of the measured chocolate will be melted in the pot with the butter and sugar. The other half of the chopped chocolate will be stirred through the batter before baking.
- For this recipe, I used both white and brown sugar. The molasses in the brown sugar adds to the flavor and contributes to the moist texture of the cake.
- I always use cake flour for chocolate or vanilla cakes. It creates a softer, more tender texture. If you do not have any cake flour, go ahead and use all-purpose or plain flour. Make sure that it is measured out properly. Too much flour will result in a dry, crumbly textured bake.


Ben | Havocinthekitchen says
I like using sour cream as it makes things moist and adds a subtle tang. And the texture of this cake is spectacular: so decadent yet light and so moist yet airy and fluffy at the same time. Beautiful!
Connie says
This sounds absolutely Uhmayzin ‼️ I can't wait to try it. Have you tried this recipe to make Cupcakes❓ if so, how many does it make & how long if a bake time & what oven temp ❓
The Gardening Foodie says
Hi Connie, thank you 😊
I haven't given the cupcake version of this recipe a try, but I'm pretty sure it'll turn out fine.
If you decide to go with cupcakes, you can expect to get around 12-15 standard-sized ones.
Just stick with the temperature mentioned in the recipe.
When baking in standard cupcake liners, start checking for doneness after about 15-20 minutes.
Insert a toothpick or a cake tester into the center of one cupcake, if it comes out clean or with a few crumbs, they're baked. Ovens can be a bit unpredictable, so starting the check earlier.
Happy baking 😊🧁
Atifa says
Made it last week and it turned out great! Just wondering if I can substitute oil for the butter? Thanks!
The Gardening Foodie says
Hello Atifa, that's fantastic to hear! I'm happy to know you enjoyed this recipe.
Regarding substituting oil for the butter: Sure, you can use the same amount of oil (3/4 cup / 170 ml). However, the method for adding the ingredients will need to change a bit. Here's what to do:
In the microwave or double boiler:
Melt half of the chocolate using a microwave or a double boiler. A double boiler, which consists of a pot of simmering water with a smaller pot on top holding the chocolate, uses steam to gently melt the chocolate, preventing overheating or seizing.
In a measuring jug:
2. Whisk together the white and brown sugar, eggs, oil (3/4 cup/170 ml), vanilla extract, sour cream, and milk.
Sift the dry ingredients into a separate bowl:
3. Sift the flour, cocoa powder, baking powder, baking soda, and salt into a bowl.
Combine all the ingredients:
4. Add the ingredients from the measuring jug to the sifted dry ingredients. Mix lightly, then add the melted chocolate to form a smooth batter. Stir in the remaining half of the chopped chocolate (½ cup/90g).
Continue to bake according to the recipe instructions.
I hope this helps. Happy baking! 😊
Atifa says
Thank you! Can’t wait to get baking!