Just 1 recipe, 2 ways to use in this 3 Ingredient Ricotta and Paneer Recipe. How convenient is that?
Let me tell you a little something about myself. I am not a planner, whenever I see a recipe I like, I want to make it straight away.
And that means not having some of the ingredients. Making my own to make up for missing ingredients is the only thing that I can do and since I love homemade ANYTHING, that is not a problem.
Ricotta and Paneer are no different. I have been making this cheese for years and have never ever got store bought ricotta or paneer. It is so easy to make and also much cheaper to make your own.
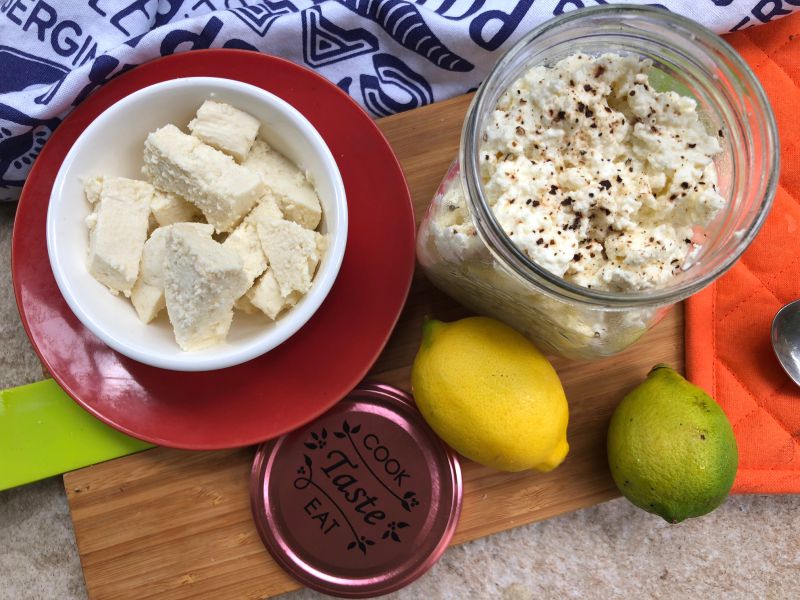
Ricotta is a soft, mild flavoured cheese and is used in many pasta and lasagna recipes.
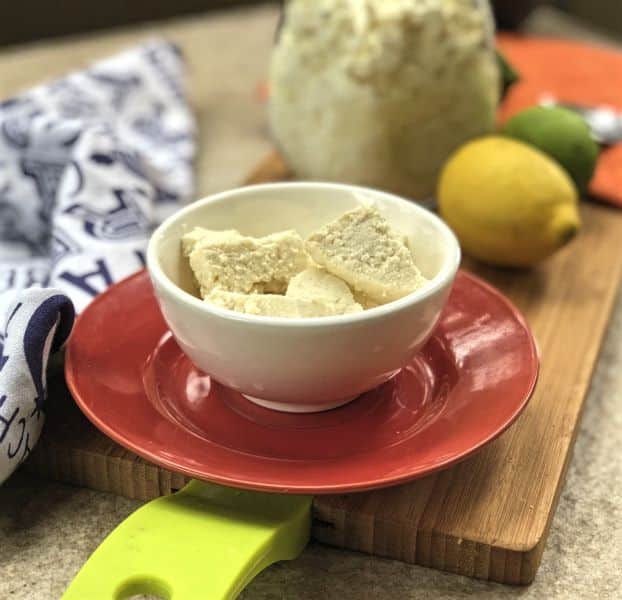
Paneer is a full-fat, soft cheese used in Indian cooking. This vegetarian cheese is pressed until the texture is firm, similar to tofu. Being a great source of protein, paneer makes an excellent meat substitute.. The cheese maintains its shape in cooking and takes on the flavors it is cooked with.
Both are made in exactly the same way, the only difference is:
- In Ricotta, the curds are strained in a muslin cloth for about 10 minutes.

- With Paneer, the curds are also strained in a muslin cloth, then bundled up in the cloth and then squeezed out. It is then pressed under a heavy weight, like a cast iron pot and left for about an hour.
- This makes it drier than ricotta and can be easily cut up into cubes and can also be deep fried or used as is in various recipes.
- The longer the paneer is left under the weight, the firmer it becomes.
Let me show you how easy these cheeses are to make.
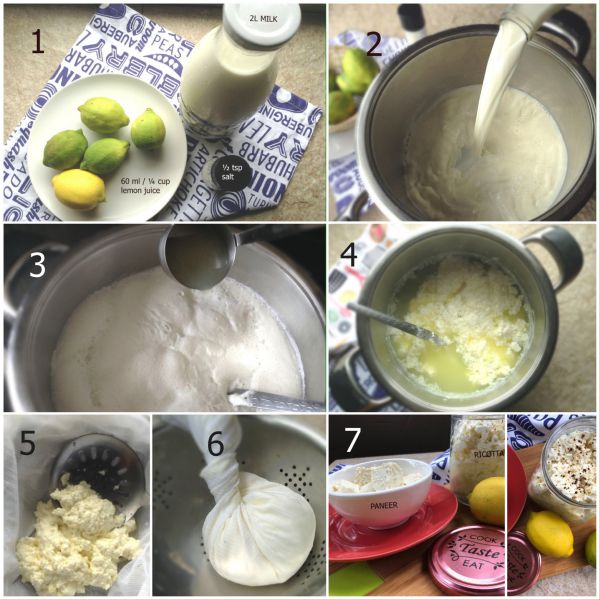
- Start with your 3 ingredients...Milk, lemon juice and salt
- Pour the milk into a large pot and bring to the boil, stirring often to prevent scorching
- Lower the temperature on the stove as the milk rises and add the lemon juice.
- Stir the milk gently, until it curdles, and remove the pot from the heat. If you find that the liquid is not clear but still milky, then return the pot to the heat and if it hasn't cleared after another minute, then simply add a bit more lemon juice. Leave in the pot for 10 minutes
- Either scoop or pour the curdled mixture into a colander lined with cheesecloth or muslin. If you are using for Ricotta, then just leave it to strain in the cloth for about 20 minutes and then use in your recipe or keep refrigerated in a bottle for about 3 days
- If you are using for paneer, then gather the corners of the cheesecloth and hold under cold running water for 10 seconds. Squeeze the bag , and place it back into the colander and press it under a heavy weight for about an hour. The longer it is pressed, the firmer the cheese will be. I usually press it down with a heavy cast iron pot or a pot filled with water. Unwrap the cheese when set to the desired consistency and use as required or keep refrigerated for up to 4 days.
Enjoy ♥
- 8 cups full cream / full fat / whole milk
- 3 tablespoons lemon juice or vinegar
- ¼ teaspoon salt
- Pour the milk into a large pot and bring to the boil, stirring often to prevent scorching
- Lower the temperature on the stove as the milk rises and add the lemon juice.
- Stir the milk gently, until it curdles, and remove the pot from the heat. If you find that the liquid is not clear but still milky, then return the pot to the heat and if it hasn't cleared after another minute, then simply add a bit more lemon juice. Leave in the pot for 10 minutes
- Either scoop or pour the curdled mixture into a colander lined with cheesecloth or muslin.
FOR RICOTTA
- If you are using for Ricotta, then just leave it to strain in the cloth for about 20 minutes and then use in your recipe or keep refrigerated in a bottle for about 3 days
FOR PANEER
- If you are using for paneer, then gather the corners of the cheesecloth and hold under cold running water for 10 seconds. Squeeze the bag, and place it back into the colander and press it under a heavy weight for about an hour. The longer it is pressed, the firmer the cheese will be. I usually press it down with a heavy cast iron pot or a pot filled with water. Unwrap the cheese when set to the desired consistency and use as required or keep refrigerated for up to 4 days.
Want even more delicious recipes? Subscribe free to receive new post notifications emailed to you. Or follow along on Facebook, Pinterest, and Instagram. If you love sharing recipes please come and join my All about cooking and baking Facebook group or Subscribe to my YouTube channel




Maria | kitchenathoskins says
Homemade ricotta is so creamy and sure beats any store-bought ones. Love that you make your own Ashika. Paneer is something that we use once a week and I always reach for packaged ones. You have really inspired me to make my own:)
Kelly @ Kelly Lynns Sweets and Treats says
This is so neat!! What an informative post. I can’t wait to see all the recipes you create using this ricotta and paneer!
Emma - Bake Then Eat says
I never knew this, this is such good information. I can’t wait to try it!
Rebecca | Becky Keeps House says
OMG my love for cheese knows no bounds. I used to make Ricotta at home because it costs like a million rupees here in Pakistan (okay, I may be exaggerating a TINY bit) but I stopped..and I can't remember why, now.
I need to try this asap. Craving some Palak Paneer SO HARD right now.
The Gardening Foodie says
ooooh I love cheese too...so so much, you have got to try this recipe for ricotta as well, I am sure that you will love it 🙂